Madison & Janesville, WI (740) 213-4707

The Process

One porch on Summit Avenue in Madison, followed from the first board lifted to the last coat of stain.

Taking it apart

The old porch floor had reached the end of its life. It came up board by board until only the framing was left, so everything underneath could be checked before anything new went down.
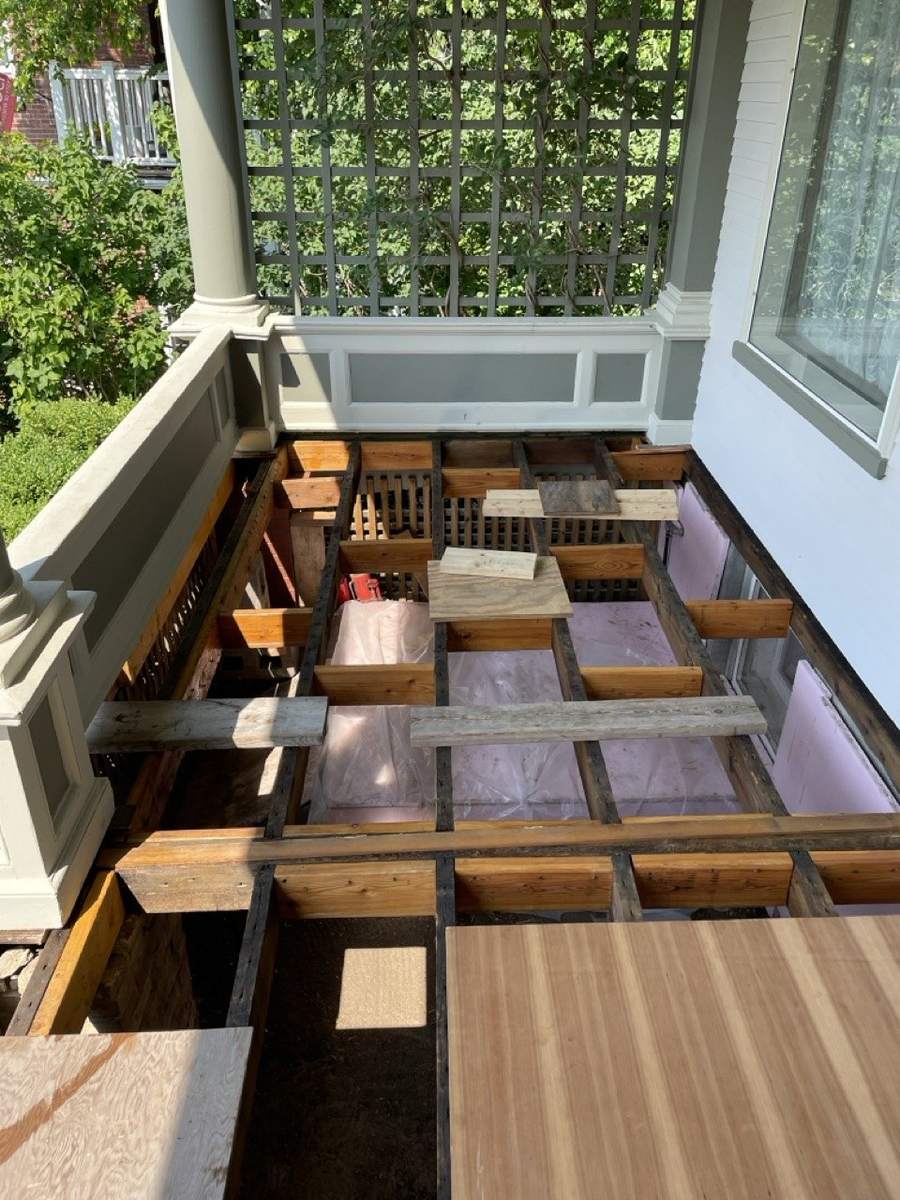
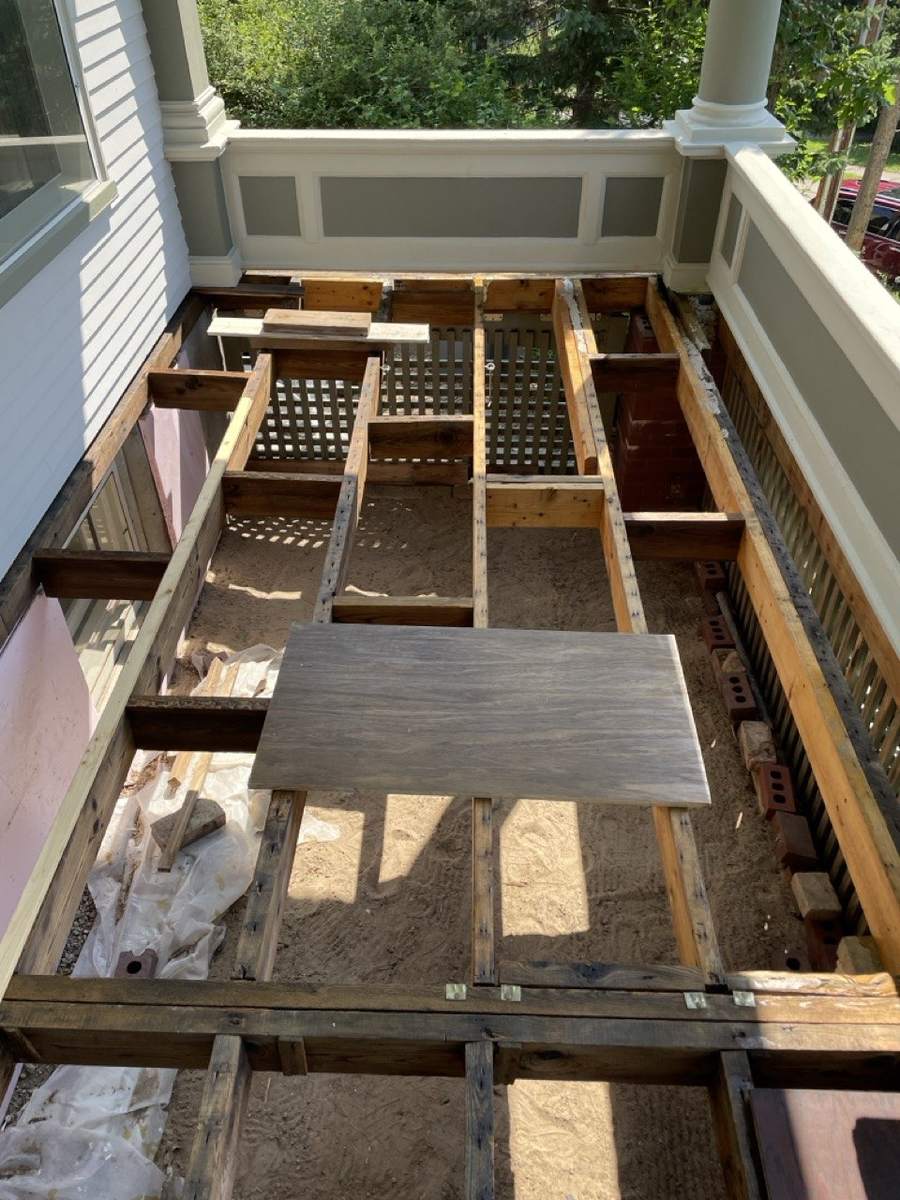
The old floor lifted, with the framing exposed
The old floor lifted, framing exposed
The porch stripped down to its joists
Down to the joists
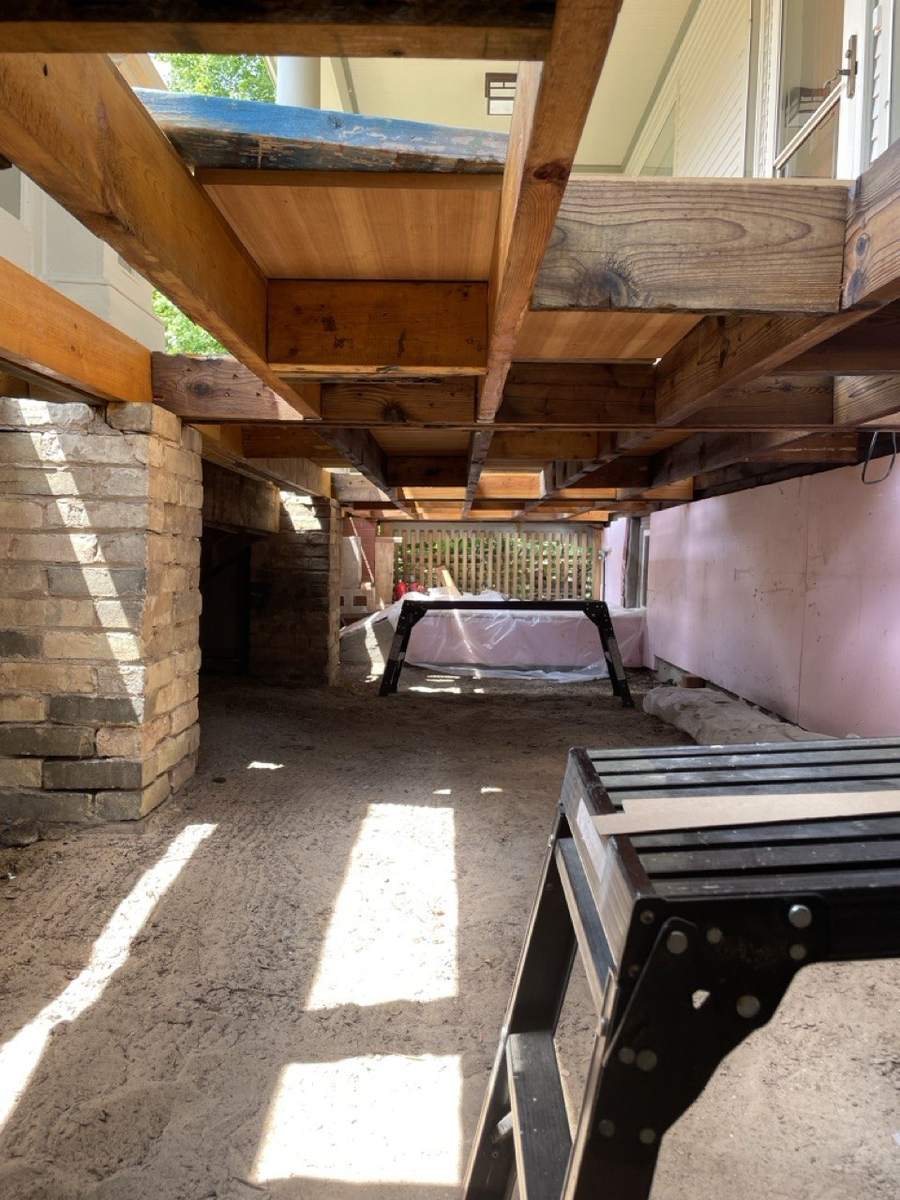
The space under the porch, looking along the framing
Under the porch

Laying the new floor

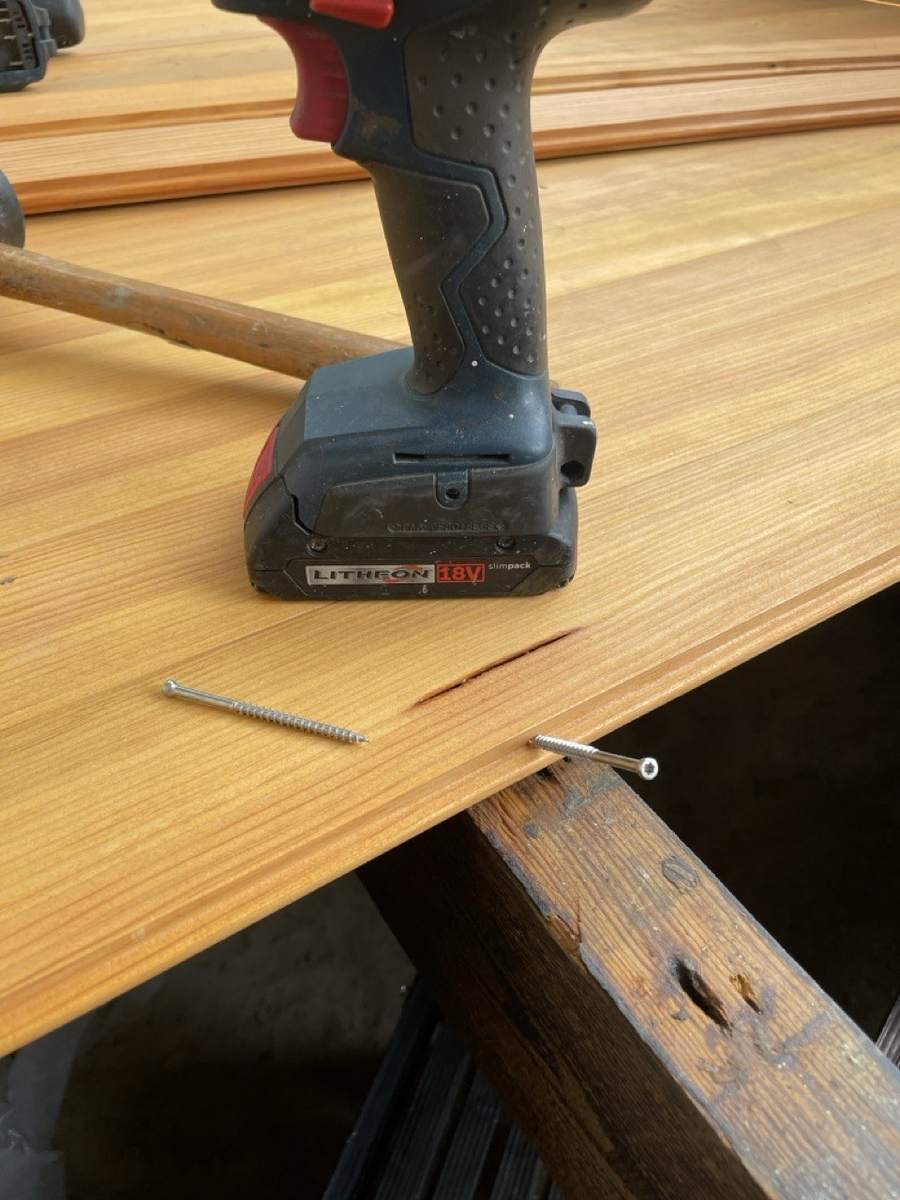
New tongue-and-groove boards went down one at a time. Each is screwed at its edge, so the fasteners hold tight and none show on the finished floor.
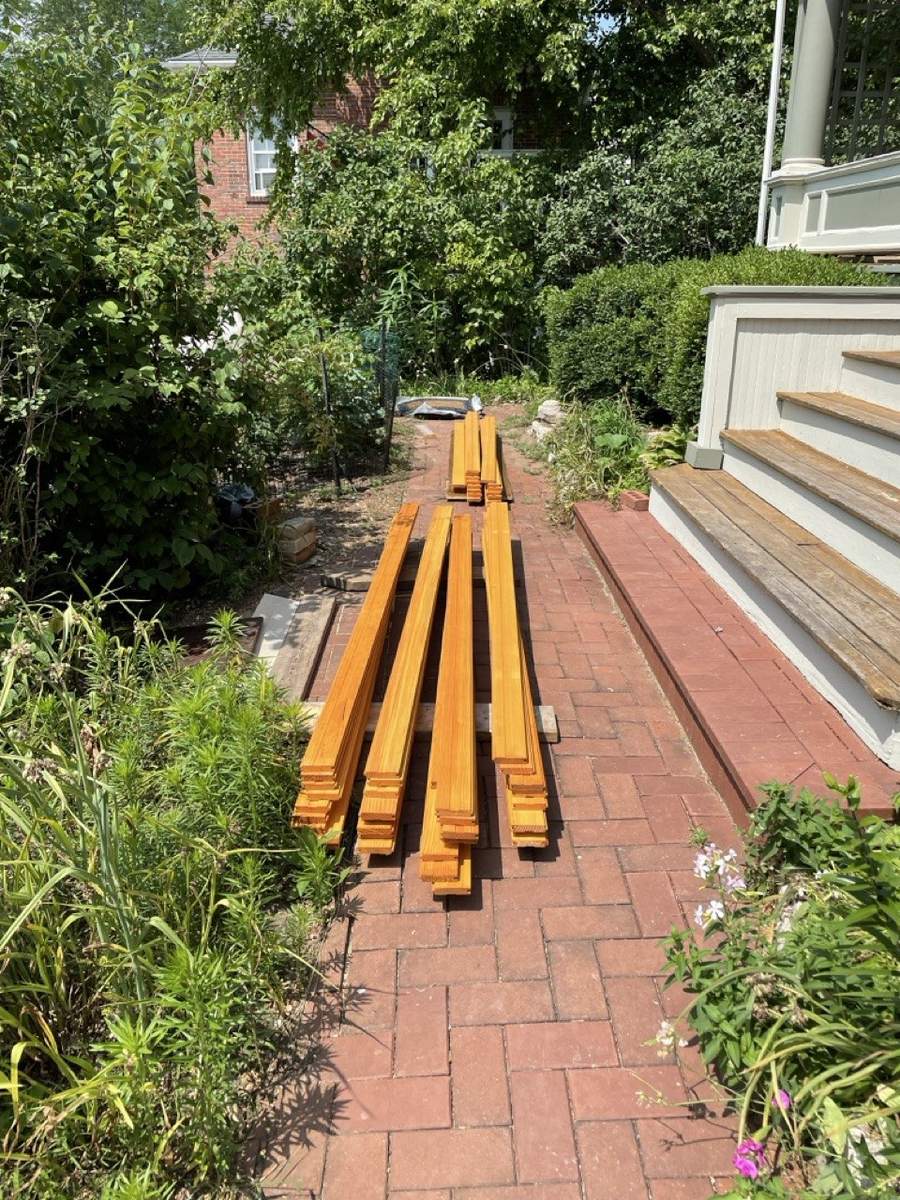
New flooring boards laid out on a brick path
New boards, delivered
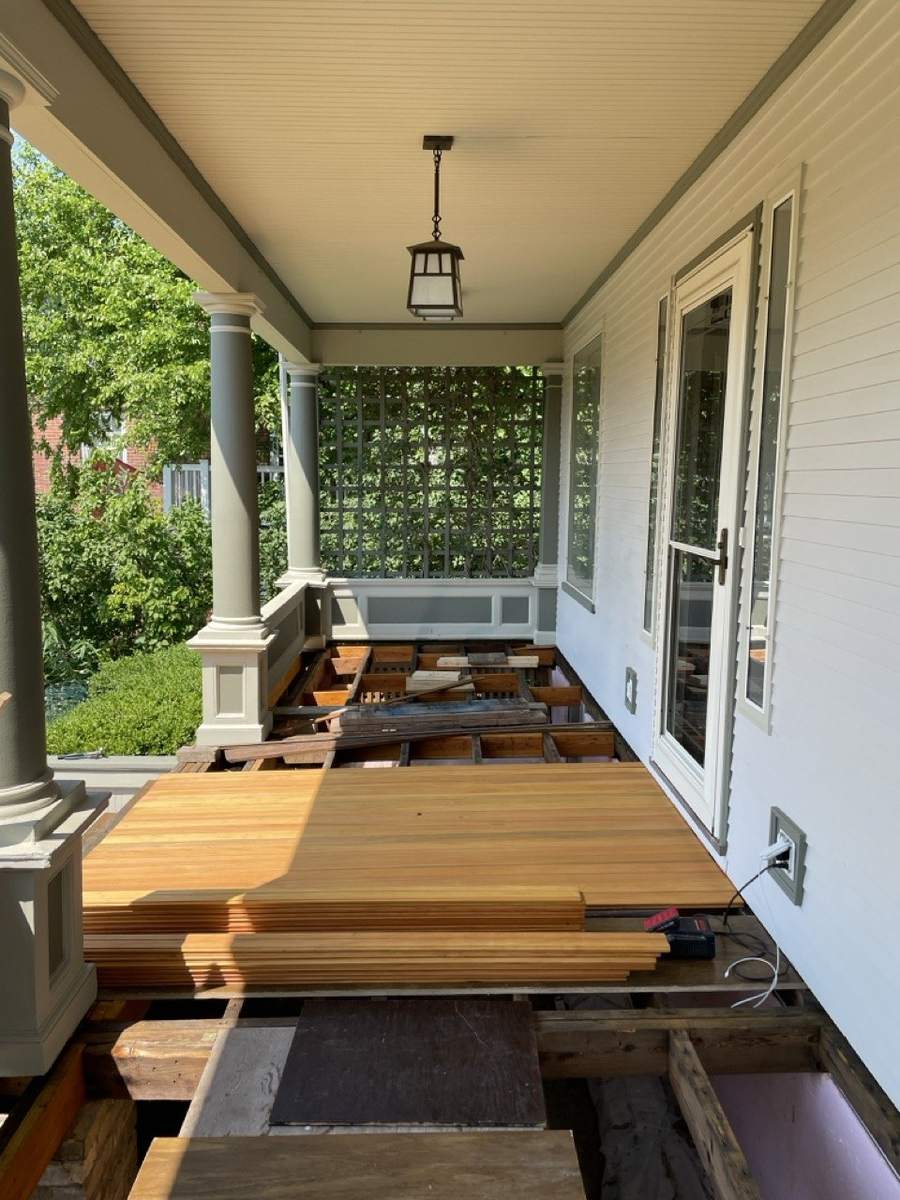
The first new boards laid along the porch, under a hanging lantern
The first boards going down
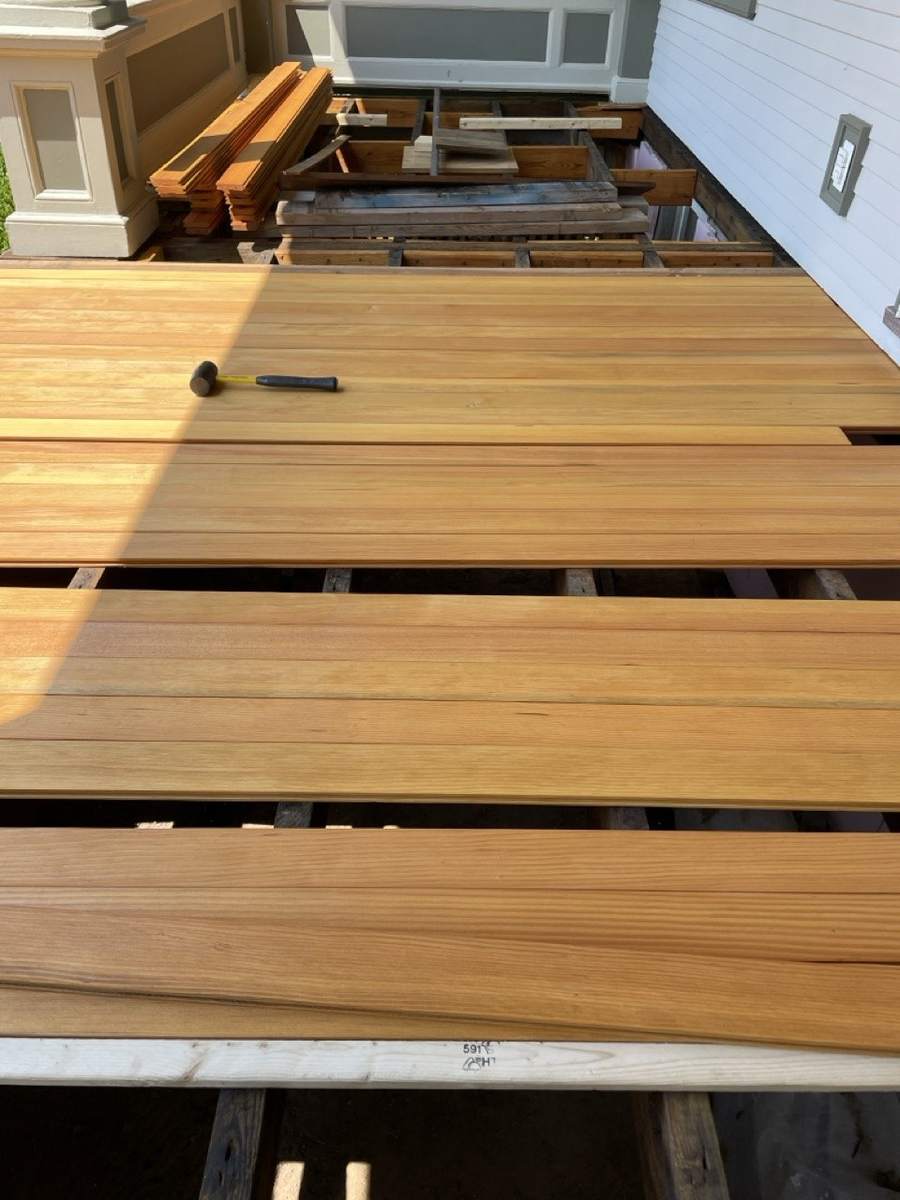
New boards partway across the porch
Working across the porch
A driver resting on new floorboards with screws set at a board's edge
Driver and screws at the board's edge
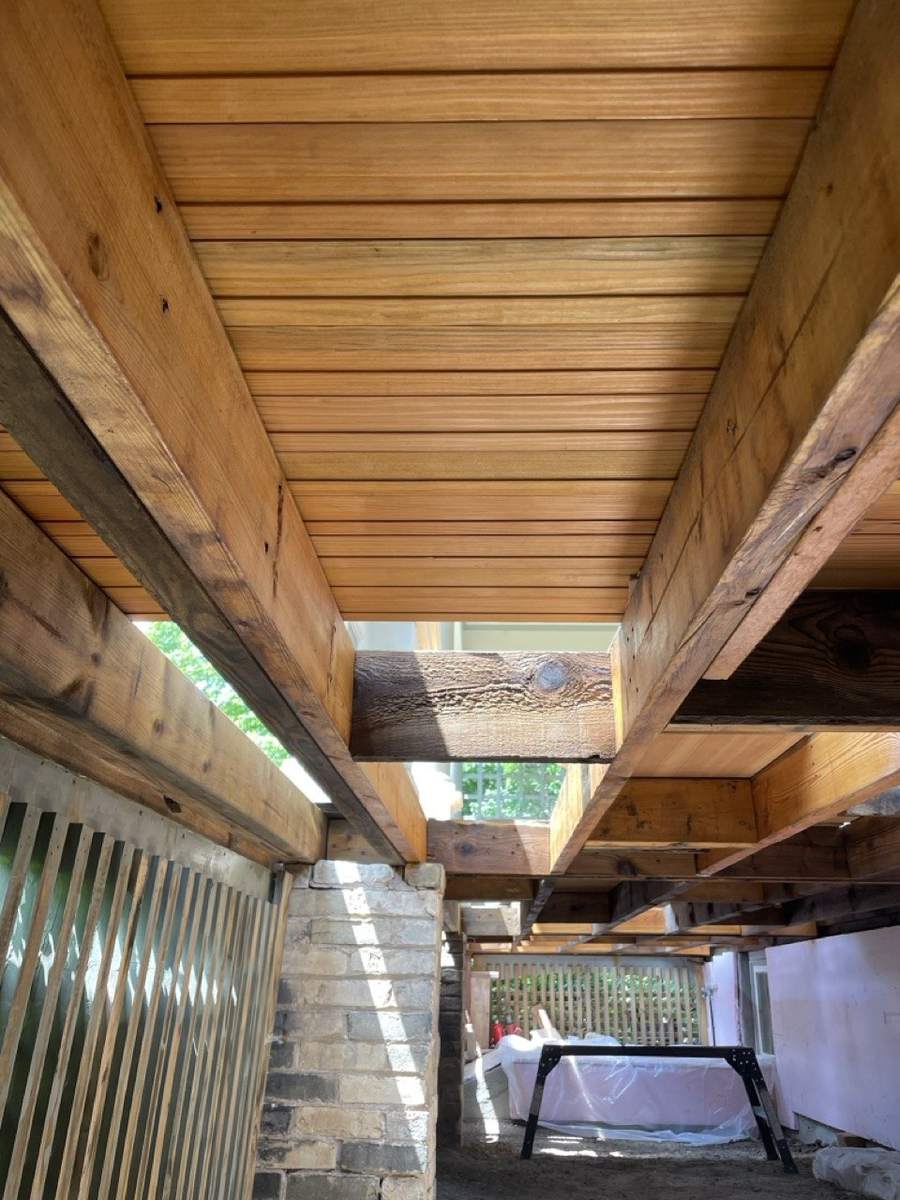
The underside of the new floor seen from below
The new floor from underneath
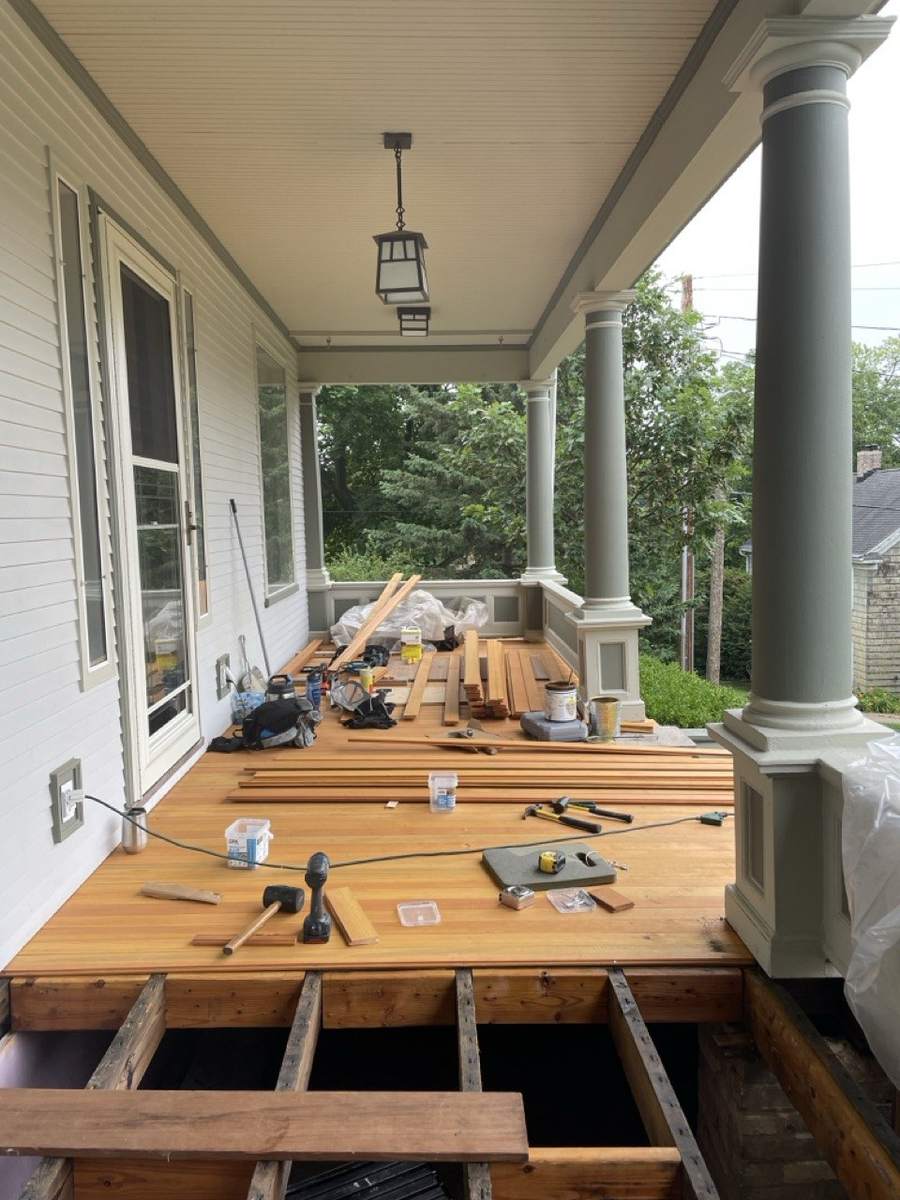
Most of the porch floor laid, with tools on the boards
Most of the floor laid

Fitting at the columns and edges

The slow part is where the floor meets something else. Around each column base and along the outer edge, pieces were marked, cut and fitted by hand.
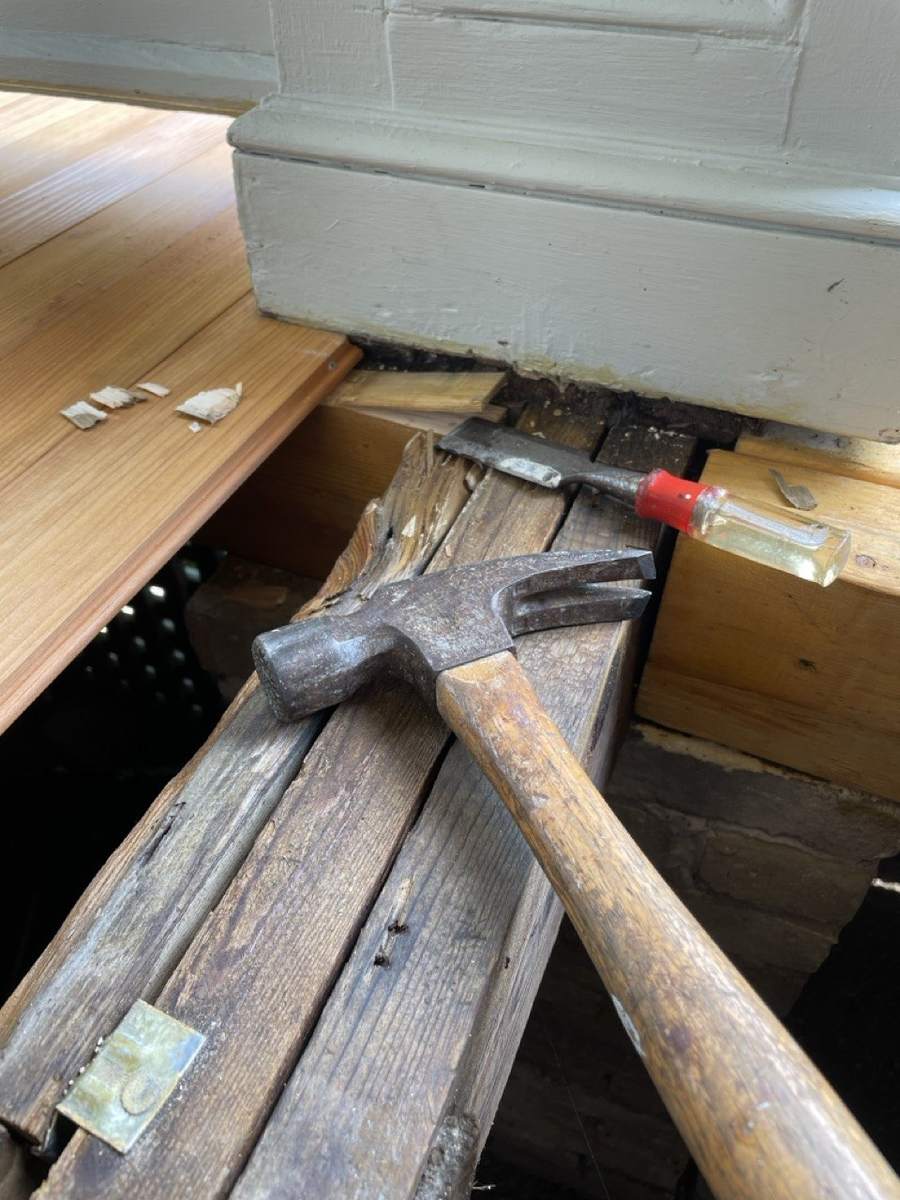
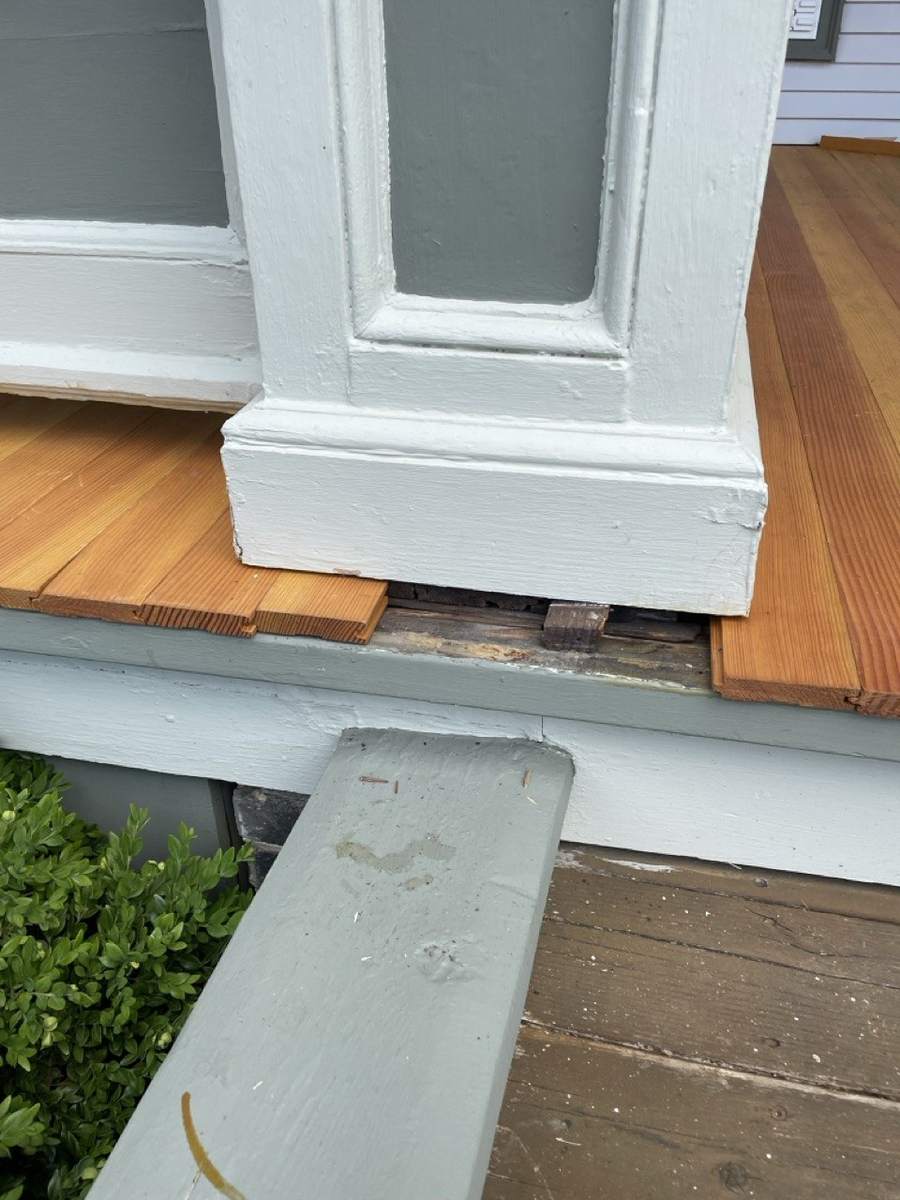
A hammer and chisel at the base of a column
Clearing out under a column base
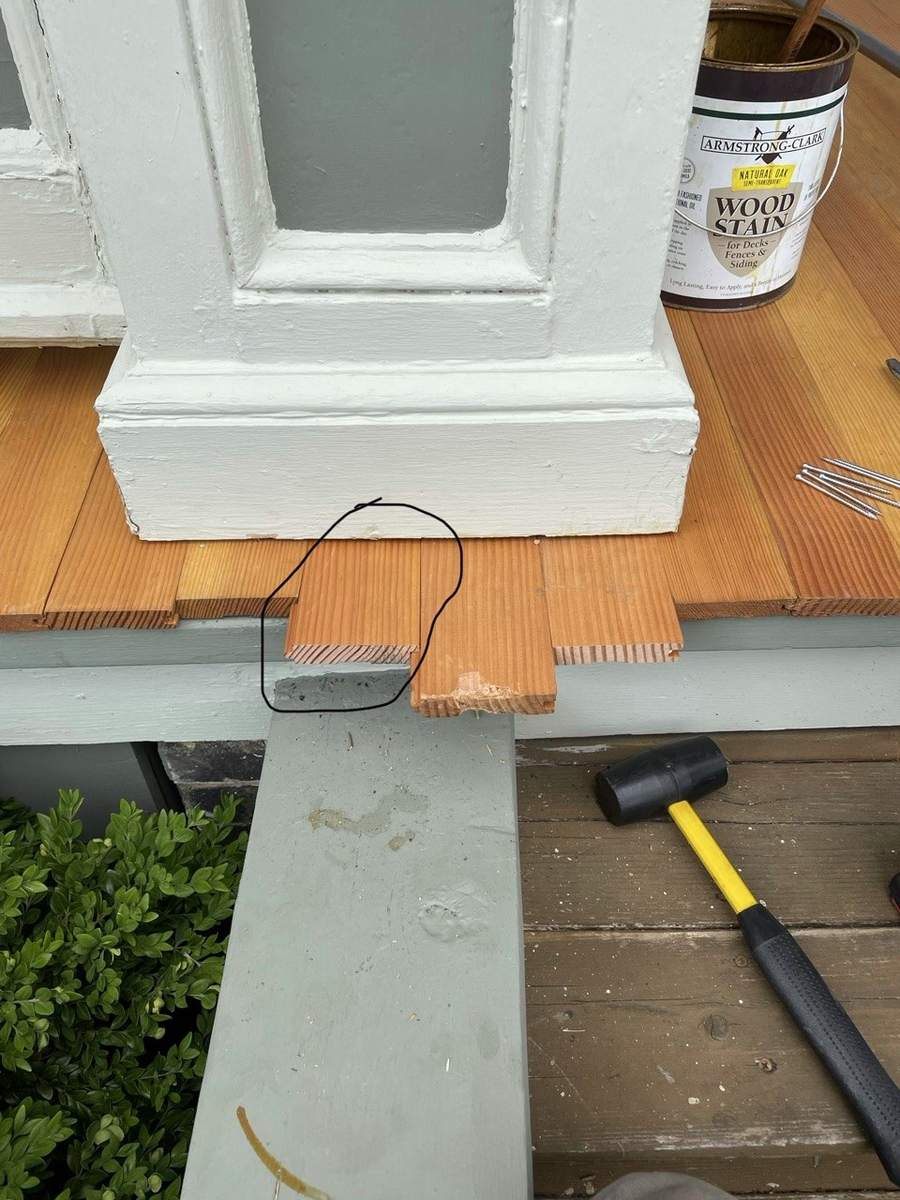
New flooring meeting the base of a column
The floor meeting a column base
A cut line marked in pencil on a floorboard beside a column base
A cut marked out in pencil
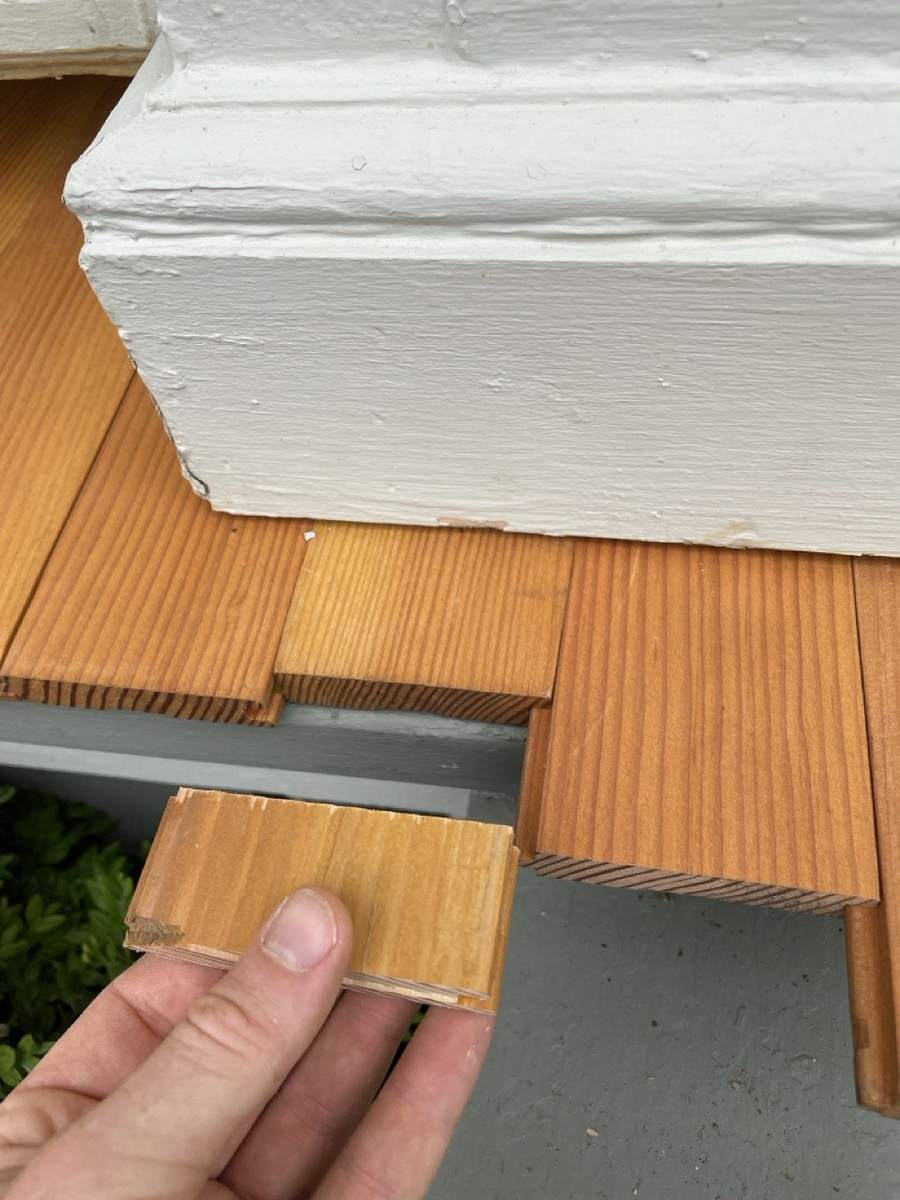
A hand holding a small piece of flooring cut to fit a gap
A piece cut to fit
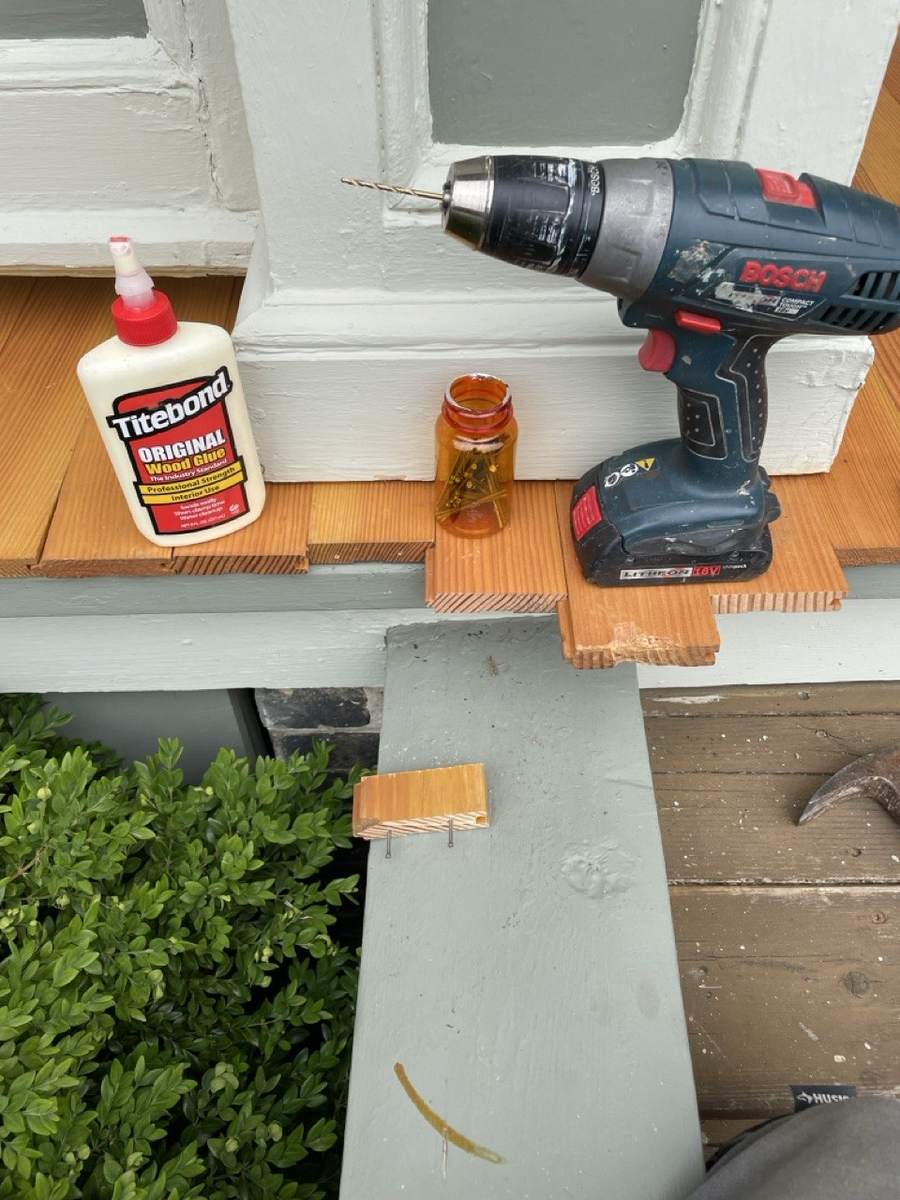
Glue, a drill and small fitted pieces at a column base
Glued and fastened in place
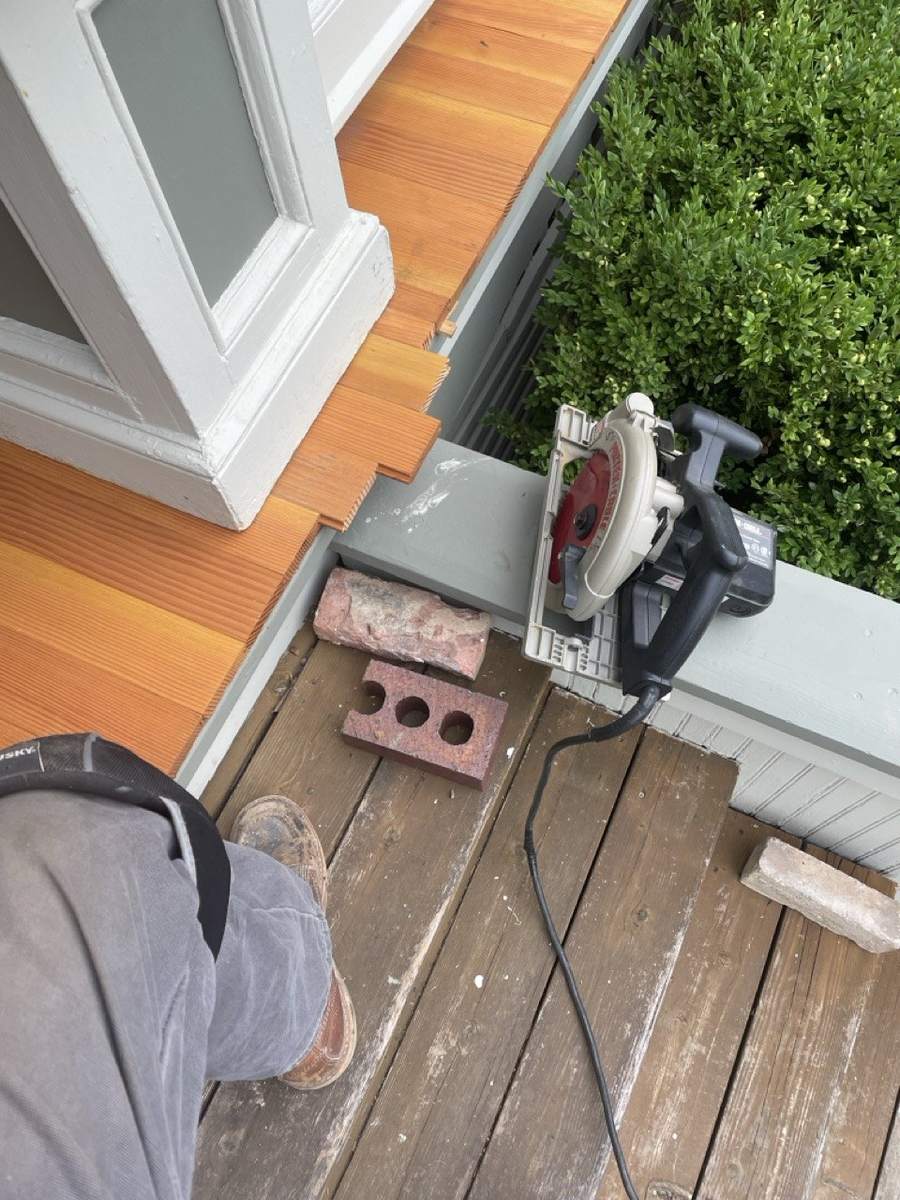
A circular saw at the outer edge of the new floor
Trimming the outer edge
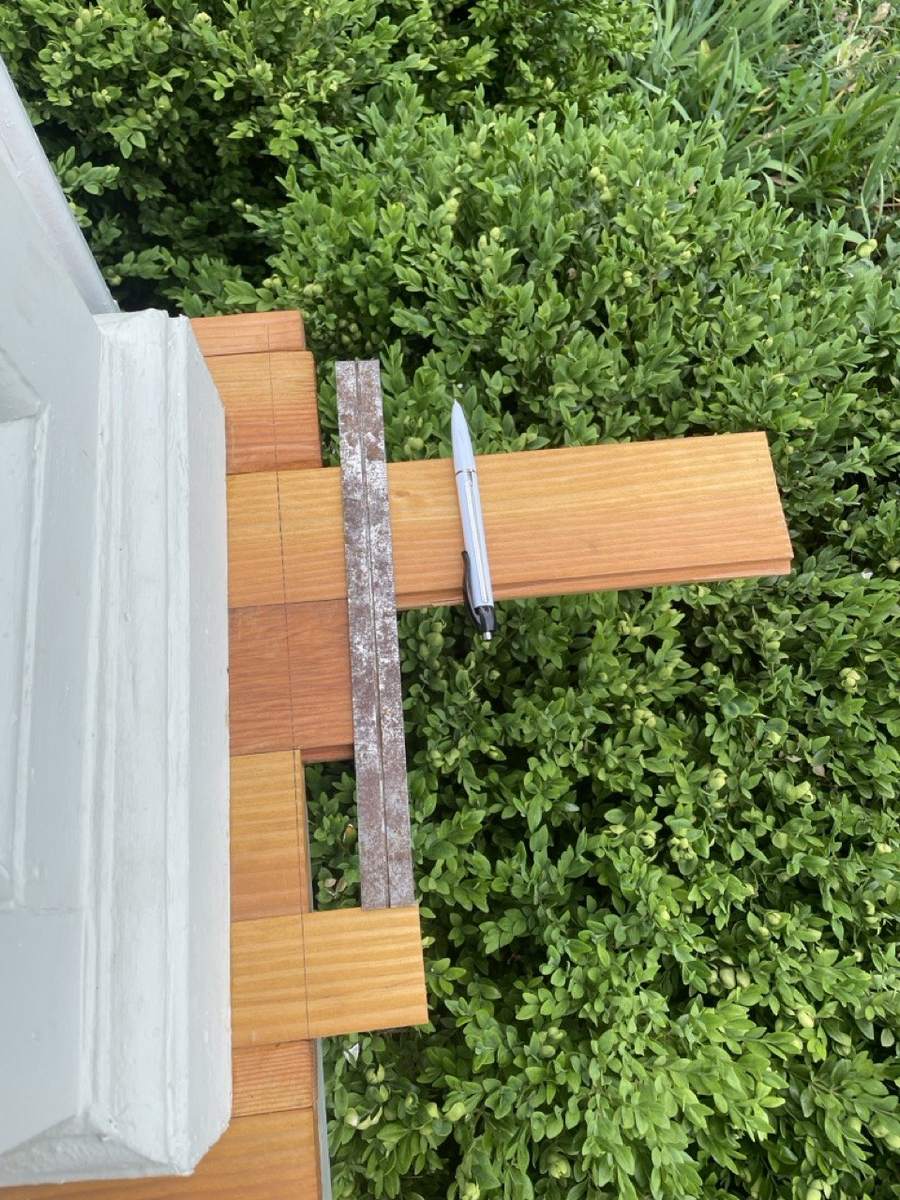
A pen and a block marking the overhang of a board
Marking the overhang
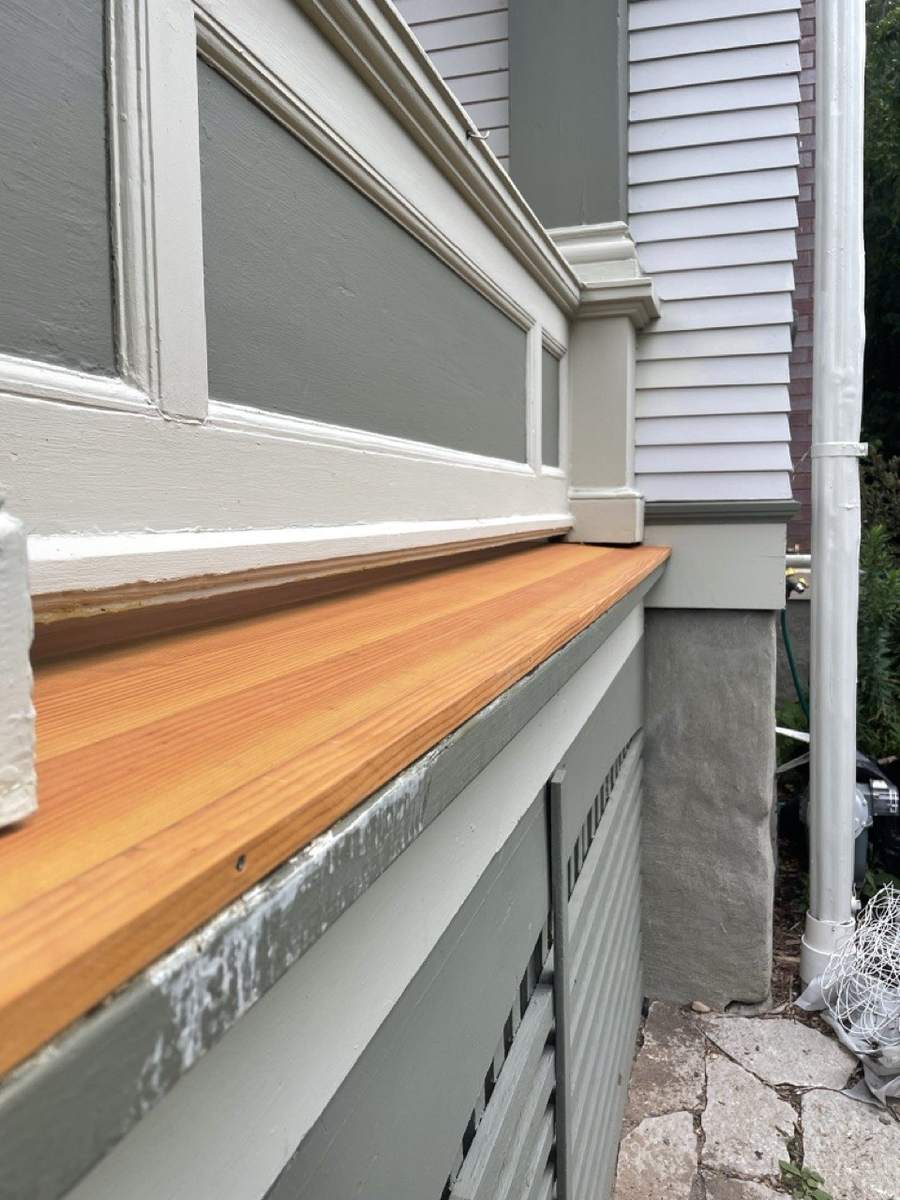
The trimmed outer edge of the new floor
The finished edge

Trim

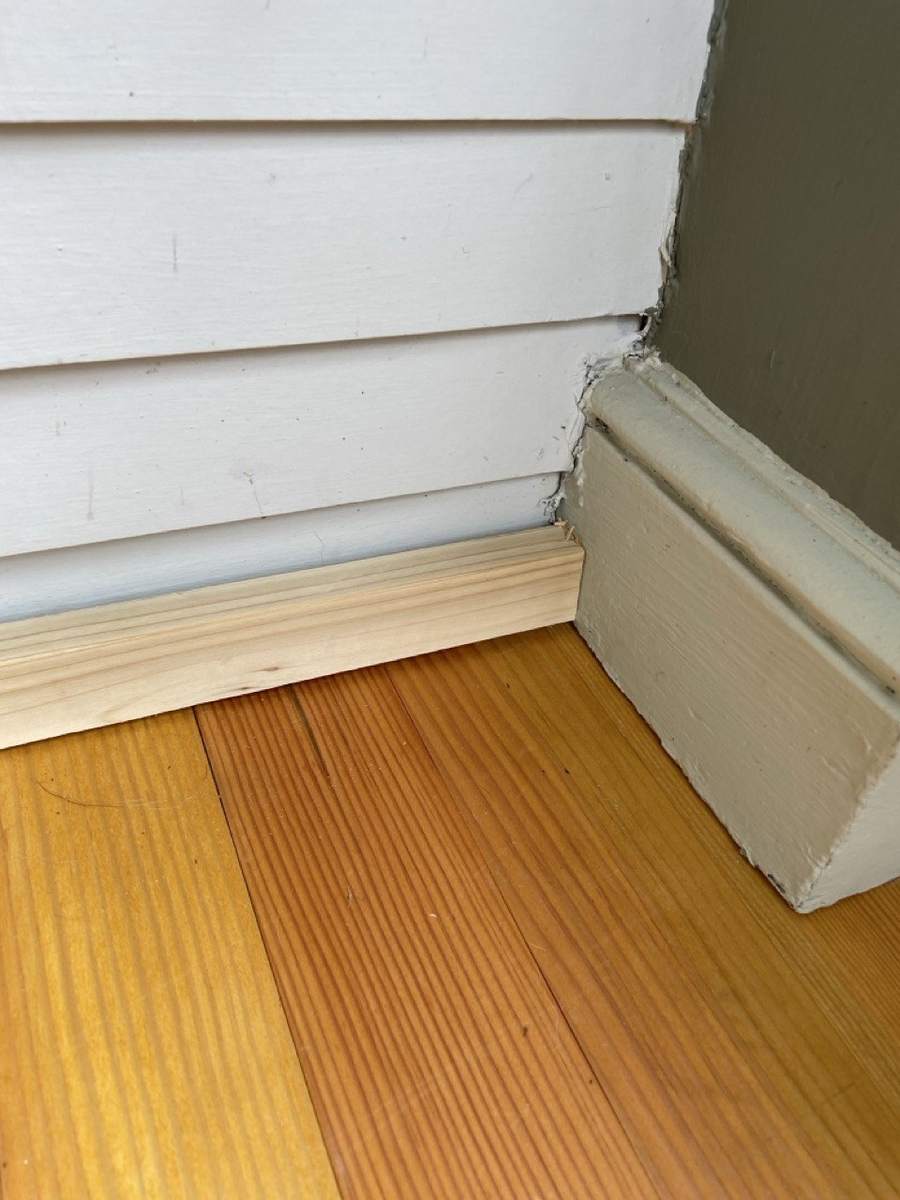
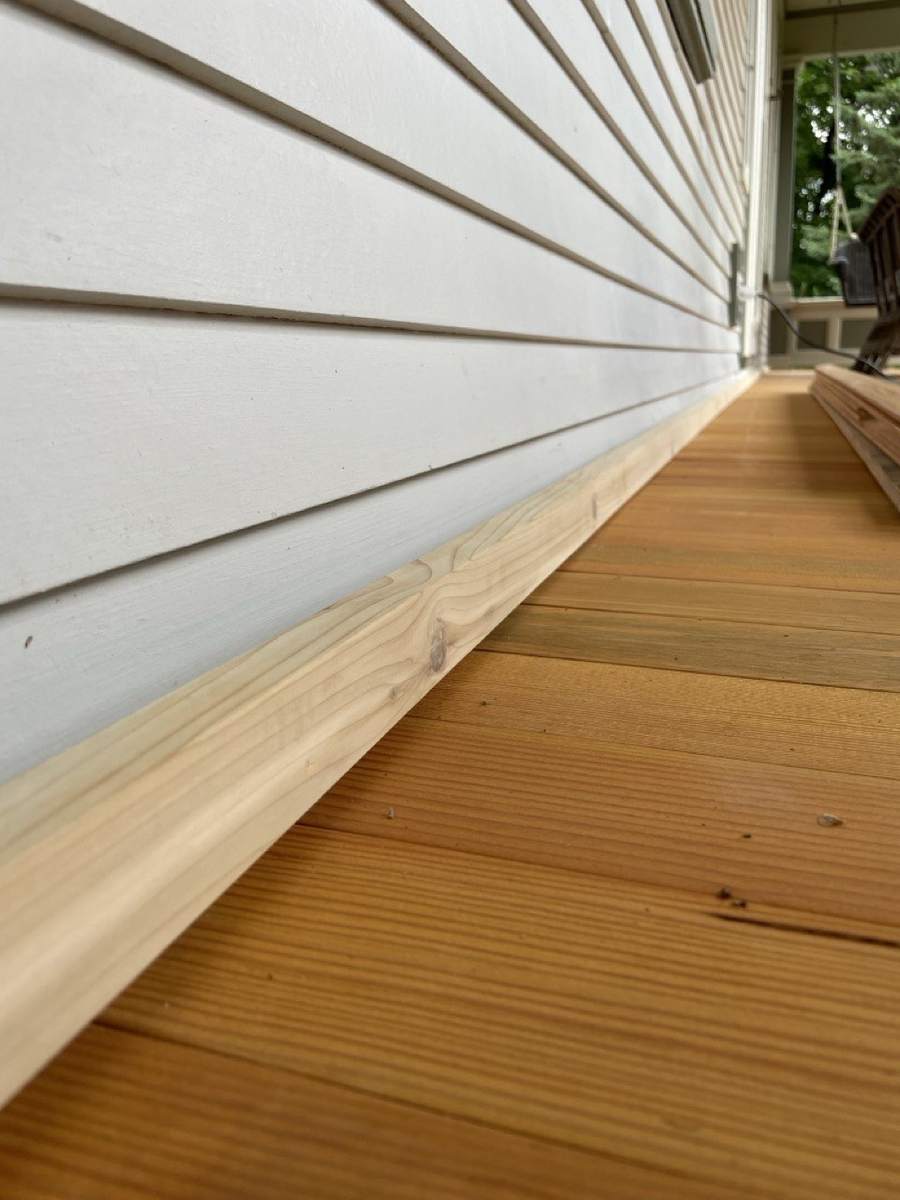
New trim closes the joint where the floor meets the house and the column bases.
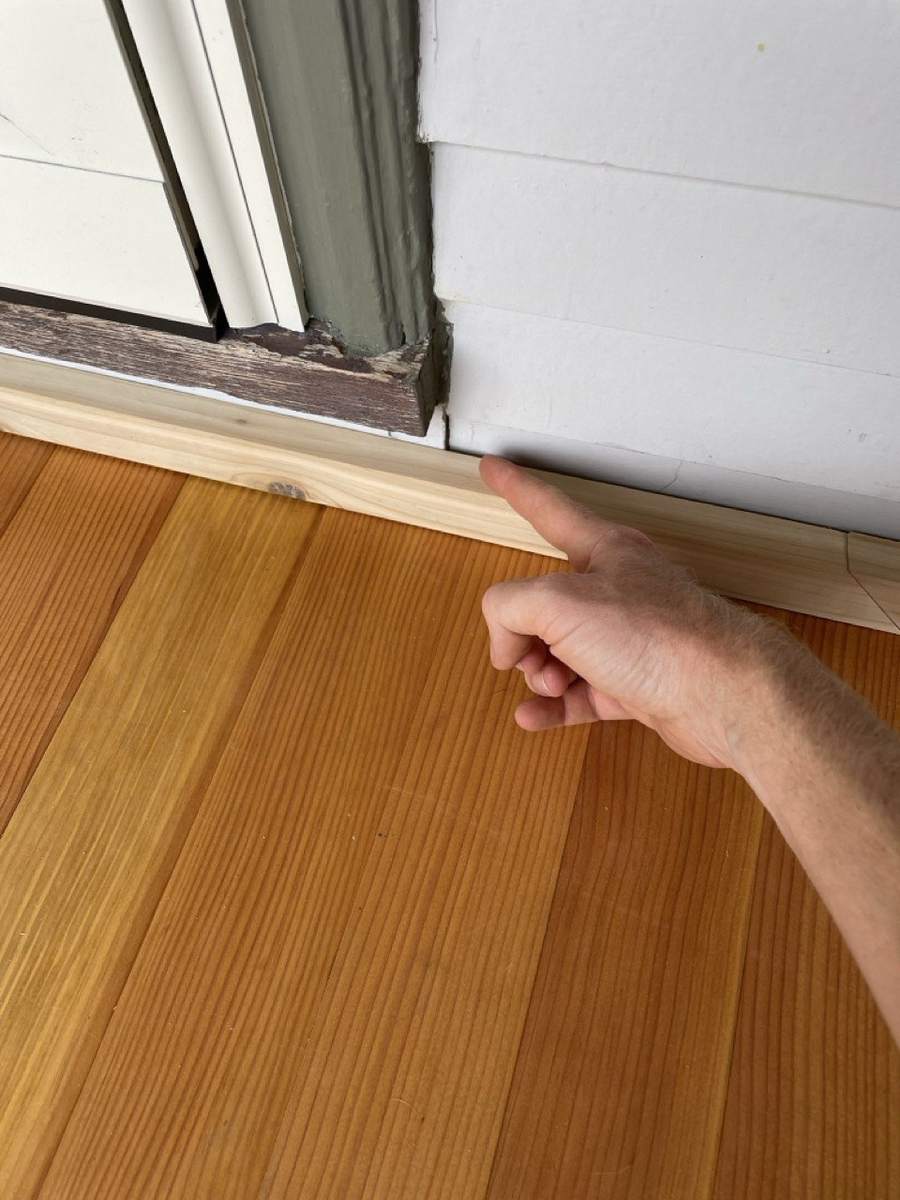
A hand pointing to new trim where the floor meets the wall
New trim along the wall
New trim meeting the base of a column
Trim meeting a column base
A long run of new trim along the house
The run along the house

The column and its pier

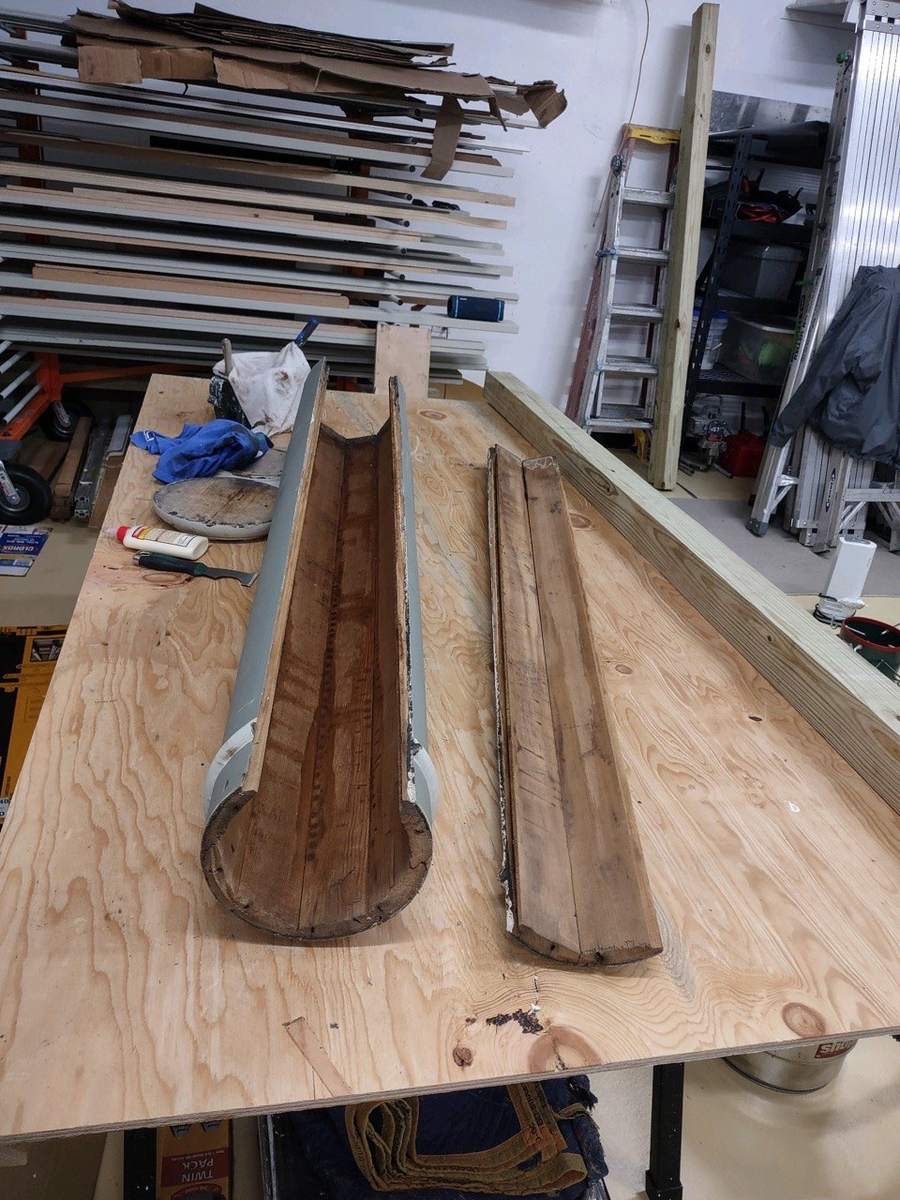
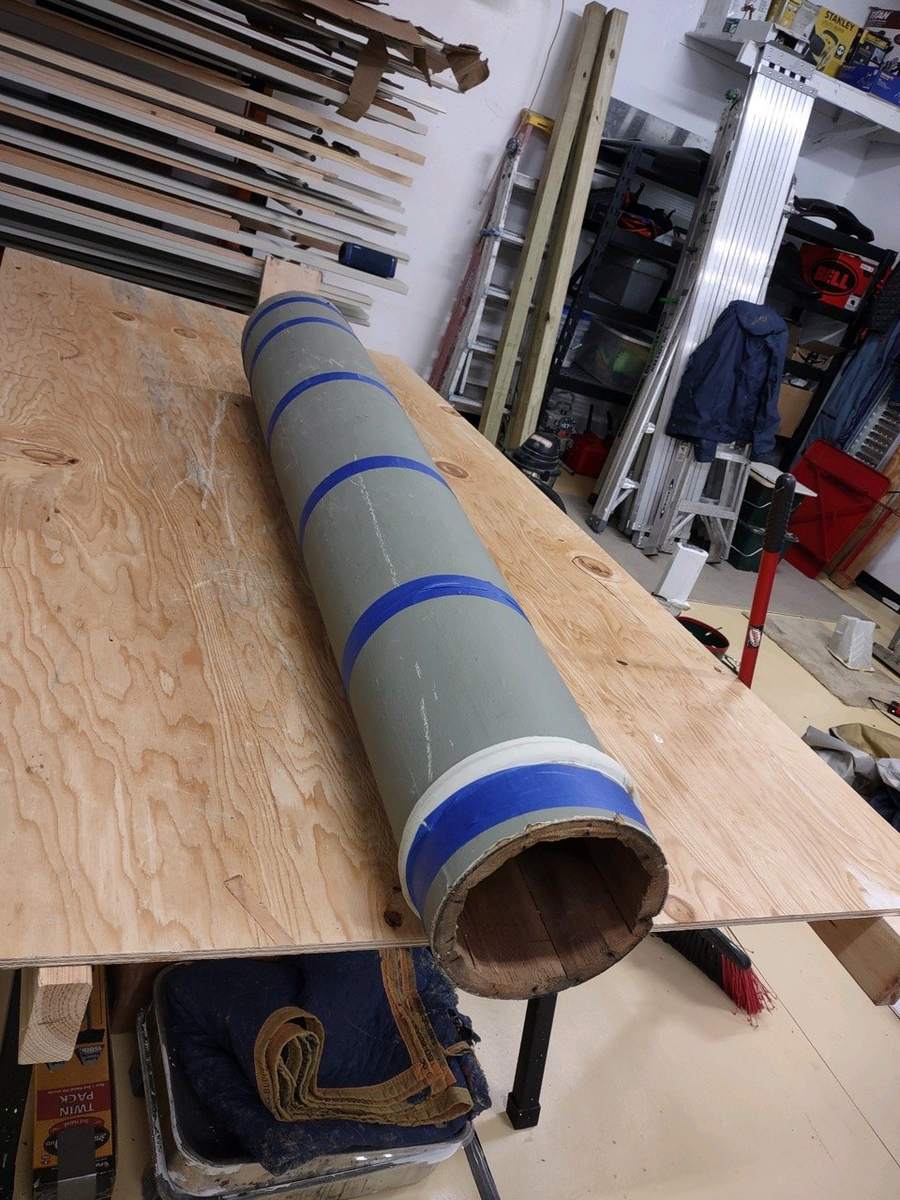
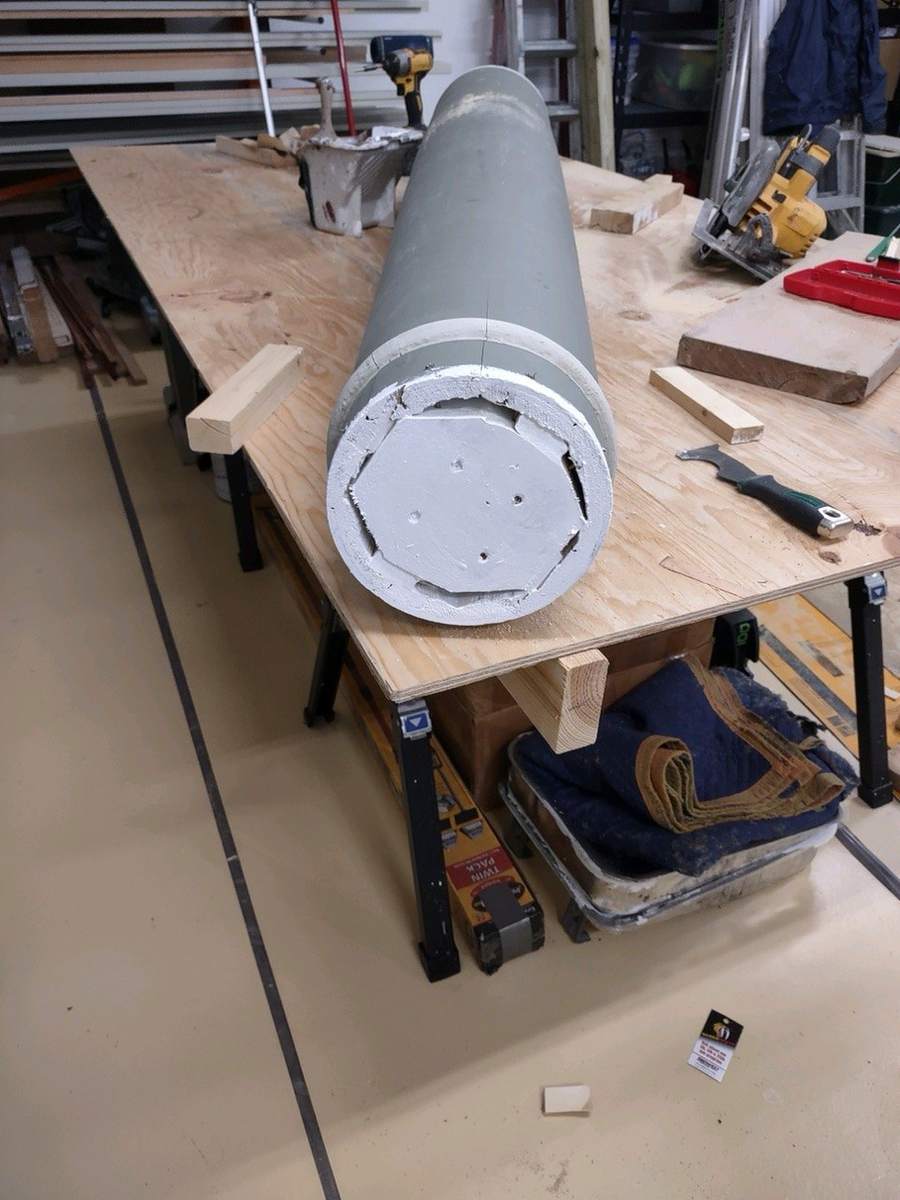
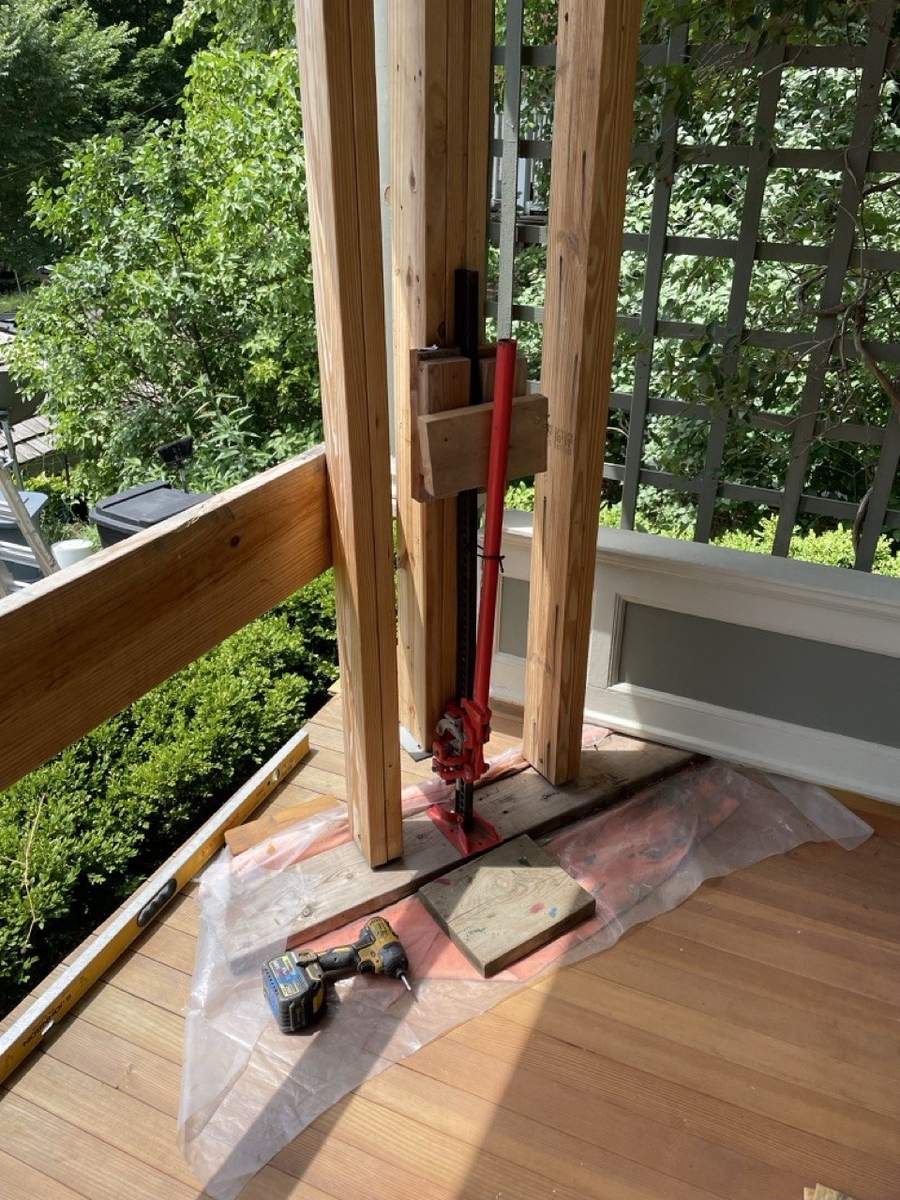
One column, and the pier beneath it, needed more than paint. The roof was held on temporary posts while the column came out and was rebuilt in the shop, and the pier was repaired. Then it all went back, with the trim around it.
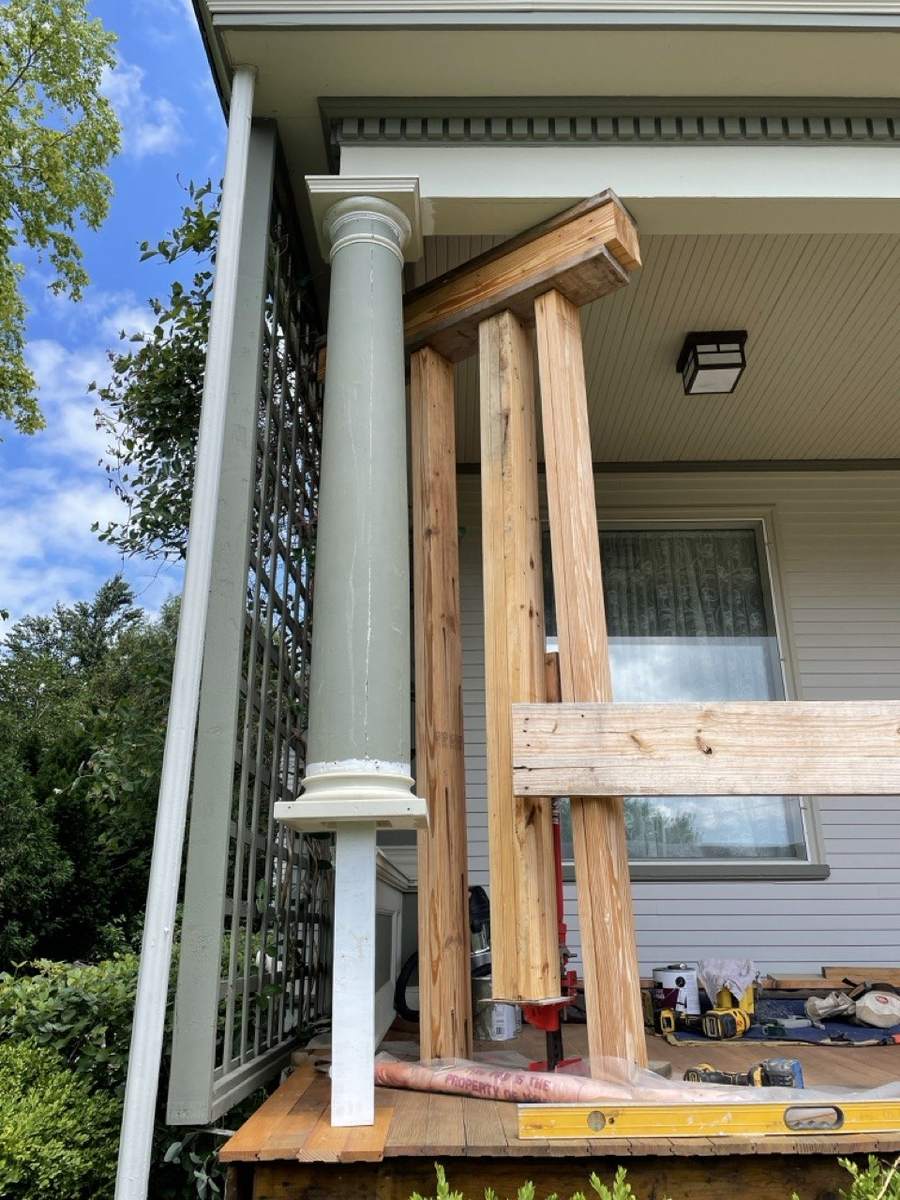
Temporary wood posts holding up the porch roof beside a column
Temporary posts carrying the roof
A jack between temporary posts on the porch
A jack taking the load
A hollow wood column split open on a workbench
The column opened up on the bench
The column taped and clamped back together on the bench
Glued back together
The column on the bench with a new cap on its end
A new cap on the column end
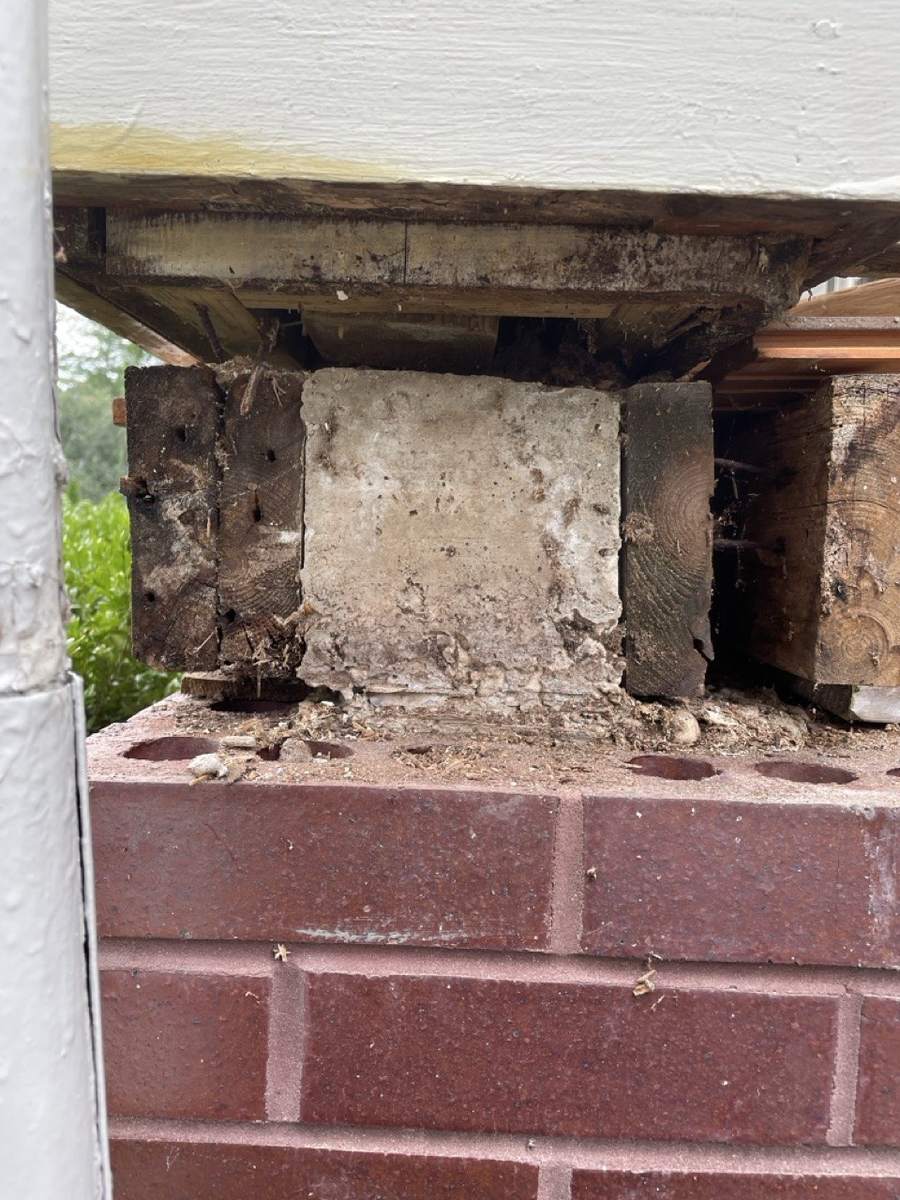
The top of a brick pier with old wood exposed
The pier under the column, opened up
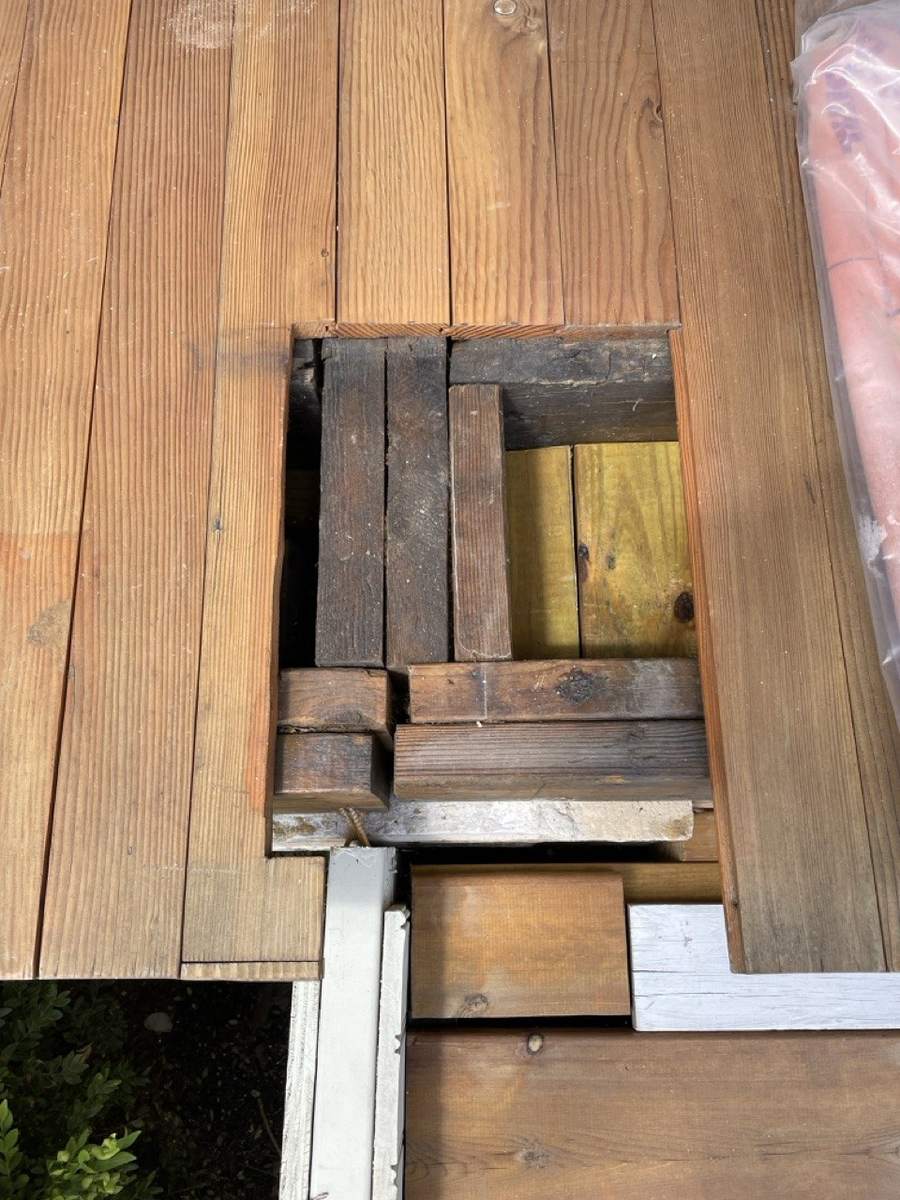
New lumber set into the porch framing at the pier
New framing at the pier
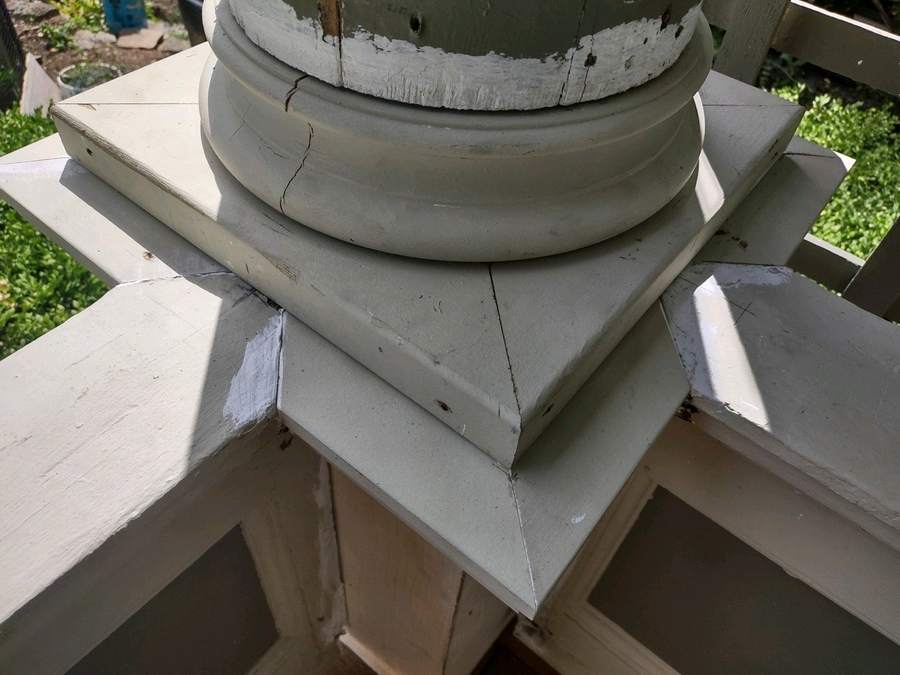
New trim pieces around the base of the column
Trim back around the base
The column and its panelled base back in place beside the finished steps
The column back in place

Finishing

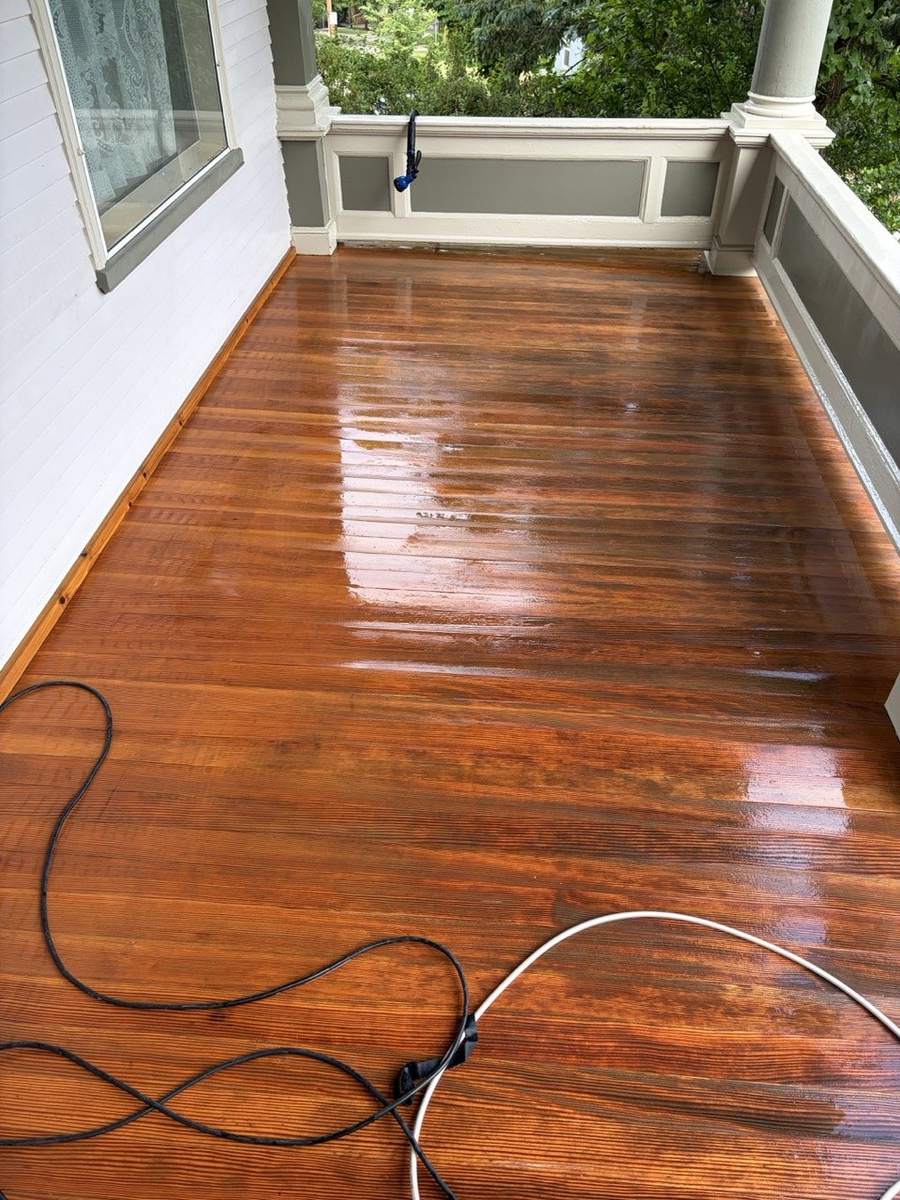
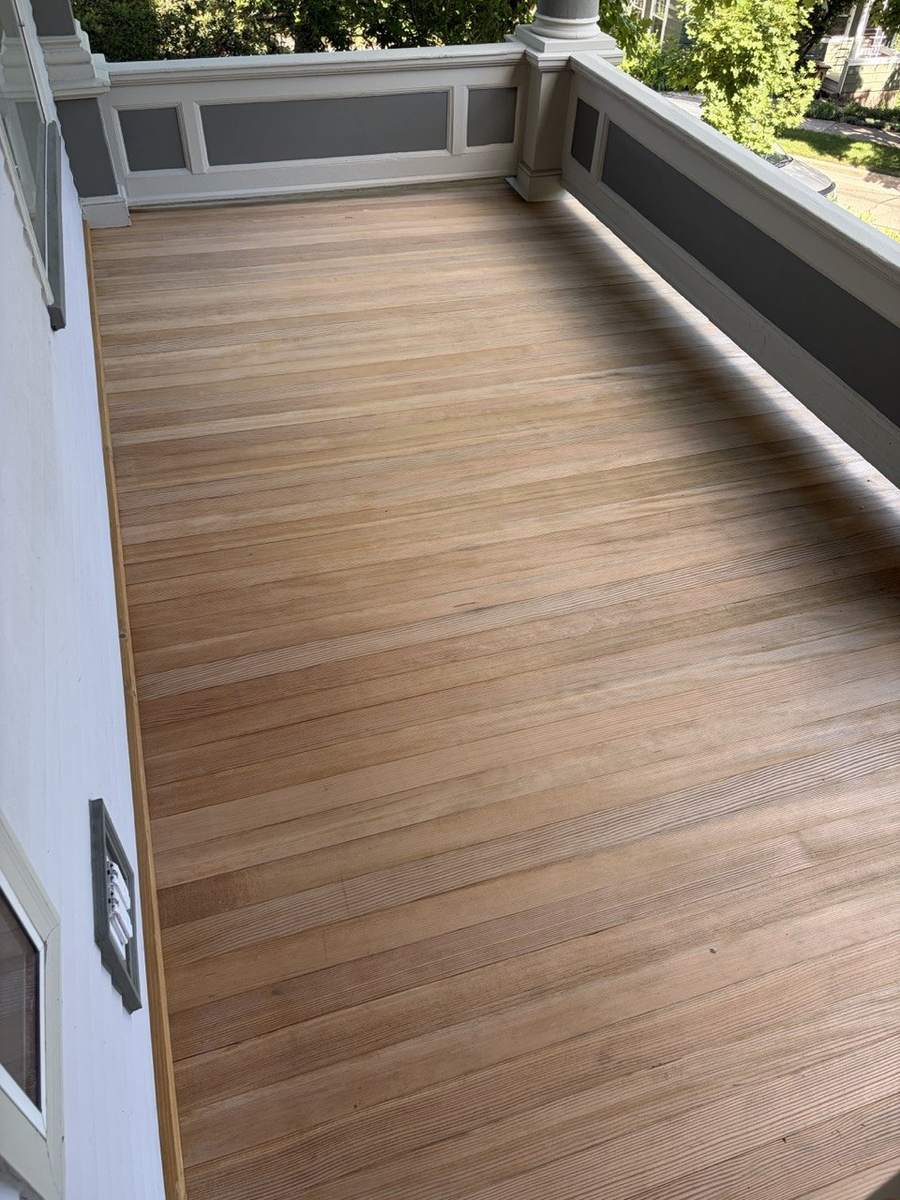
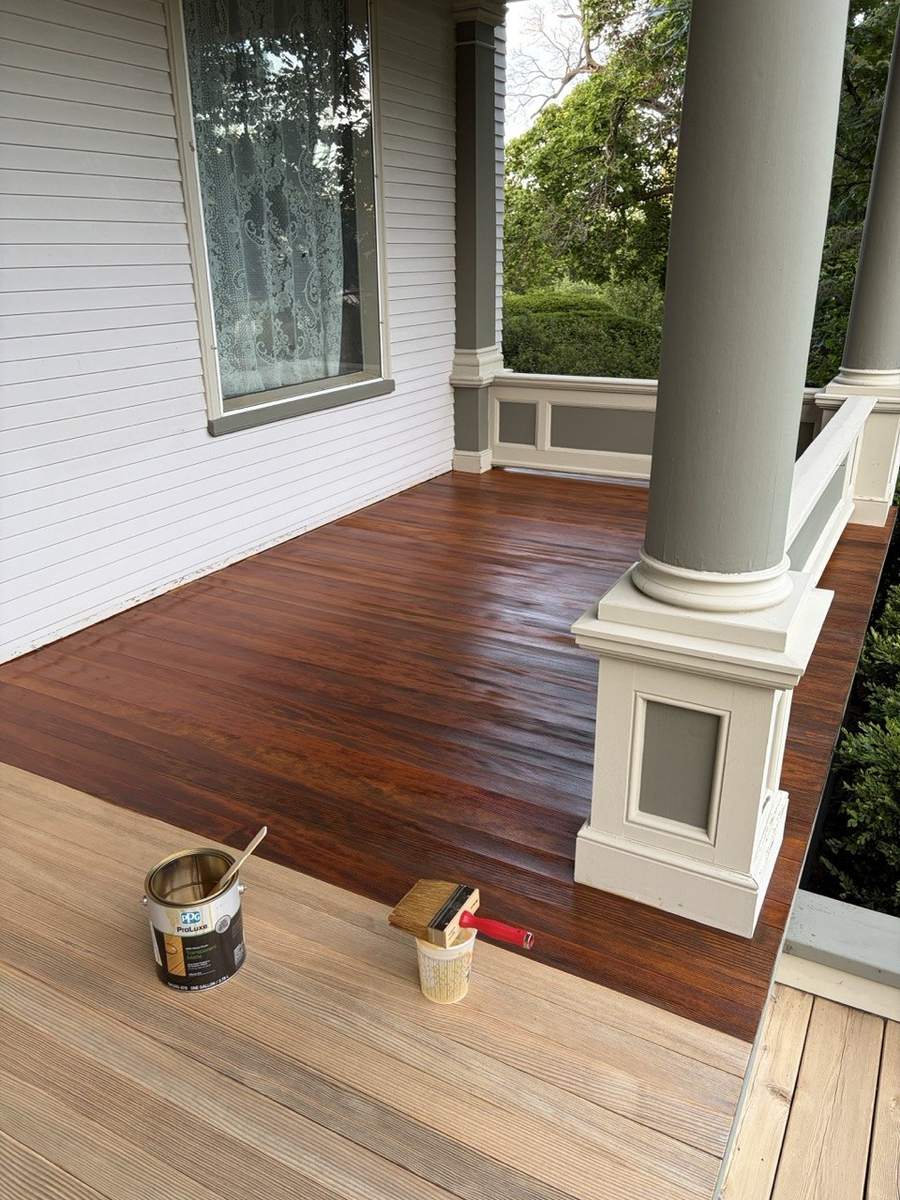
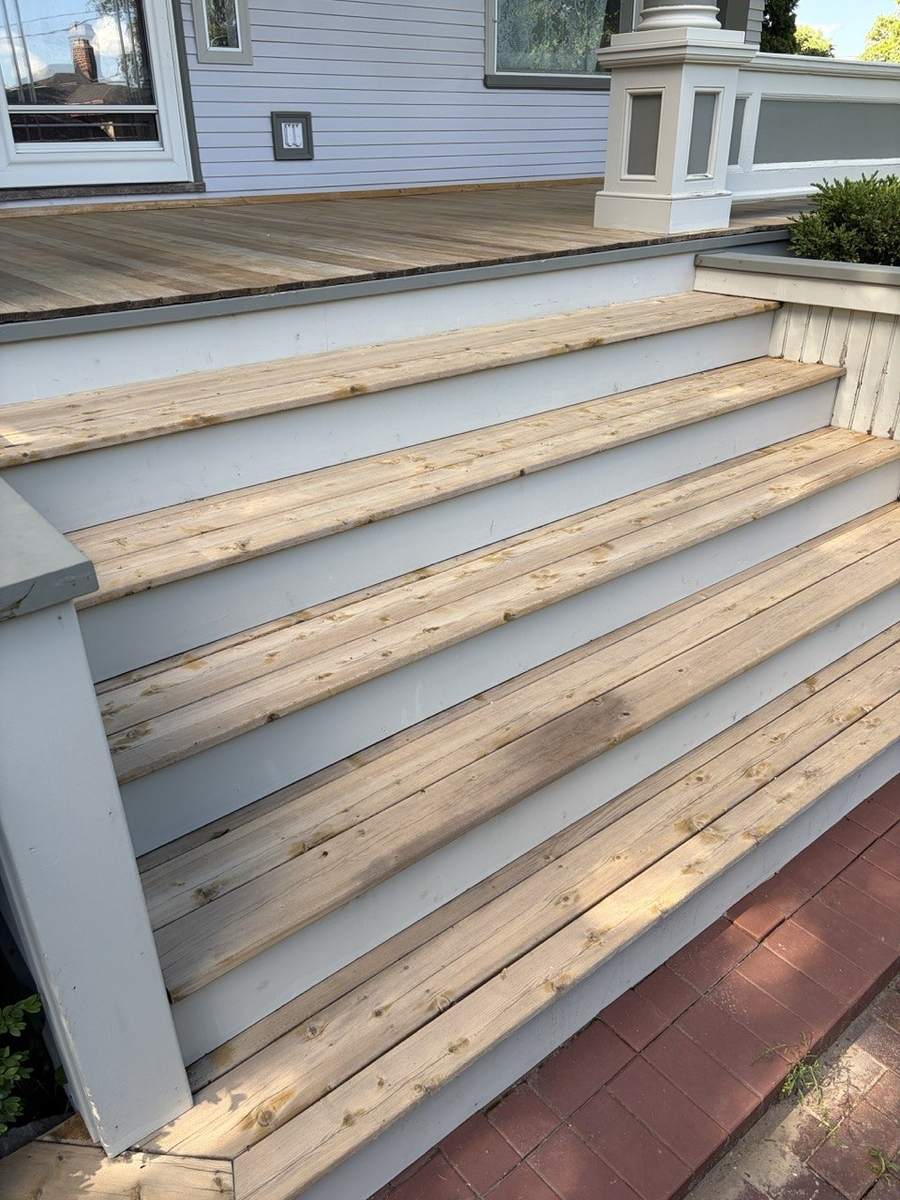
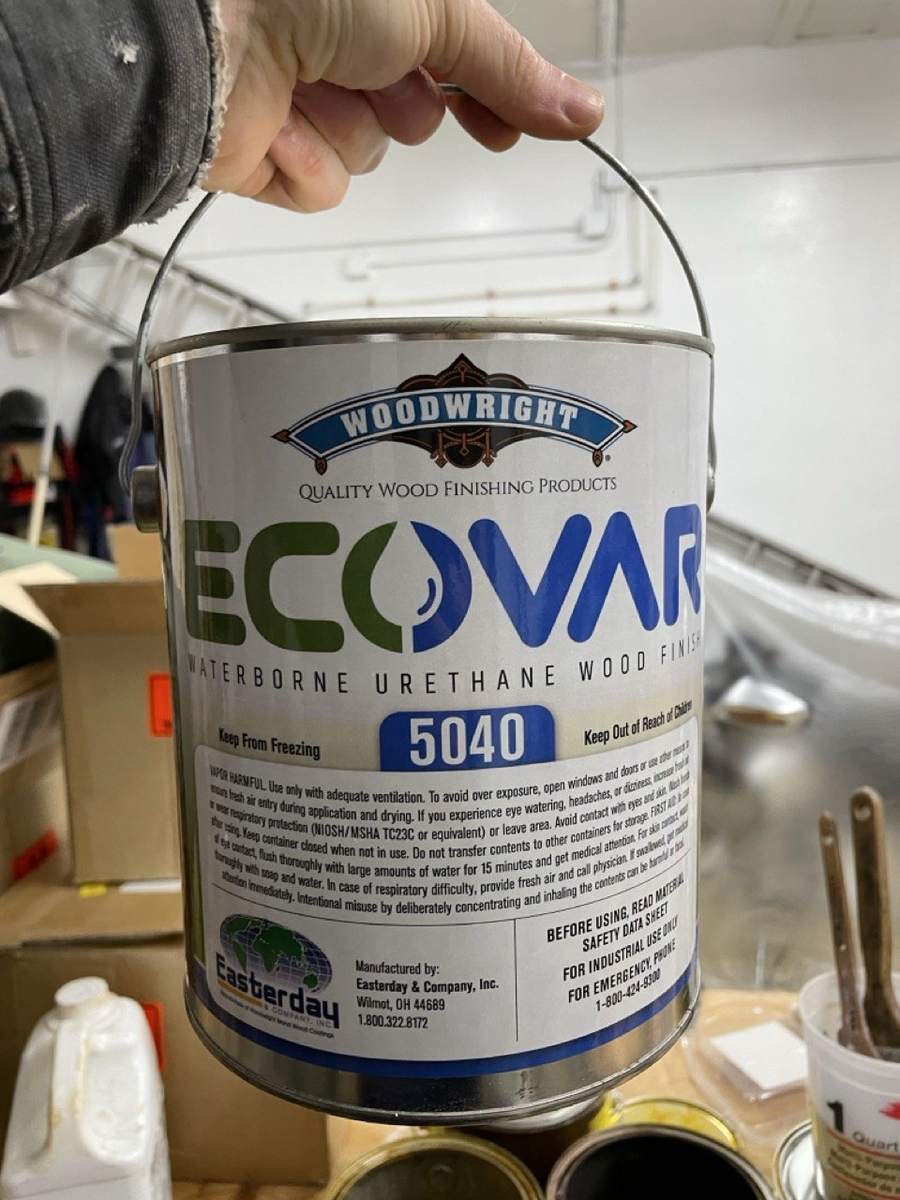
The floor was washed and taken back to bare wood before any new finish went on. Then it was stained and sealed, and the steps were done the same way.
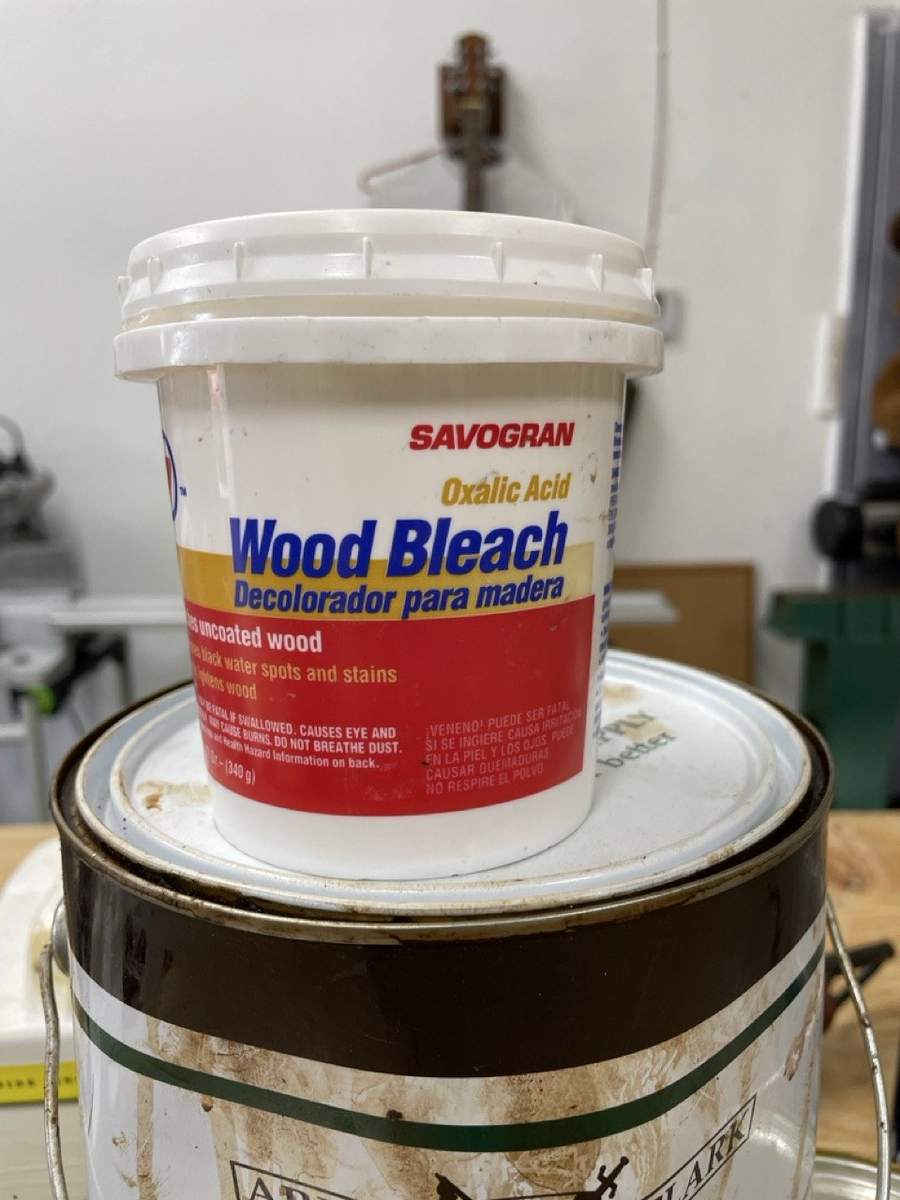
A tub of wood bleach on a workbench
Wood bleach
A can of waterborne urethane wood finish
Waterborne urethane finish
The porch floor wet from washing
Washing the floor
The porch floor stripped to bare wood
Stripped to bare wood
Stain being applied, with bare boards in the foreground
Stain going on
The porch steps stripped to bare wood
The steps, bare
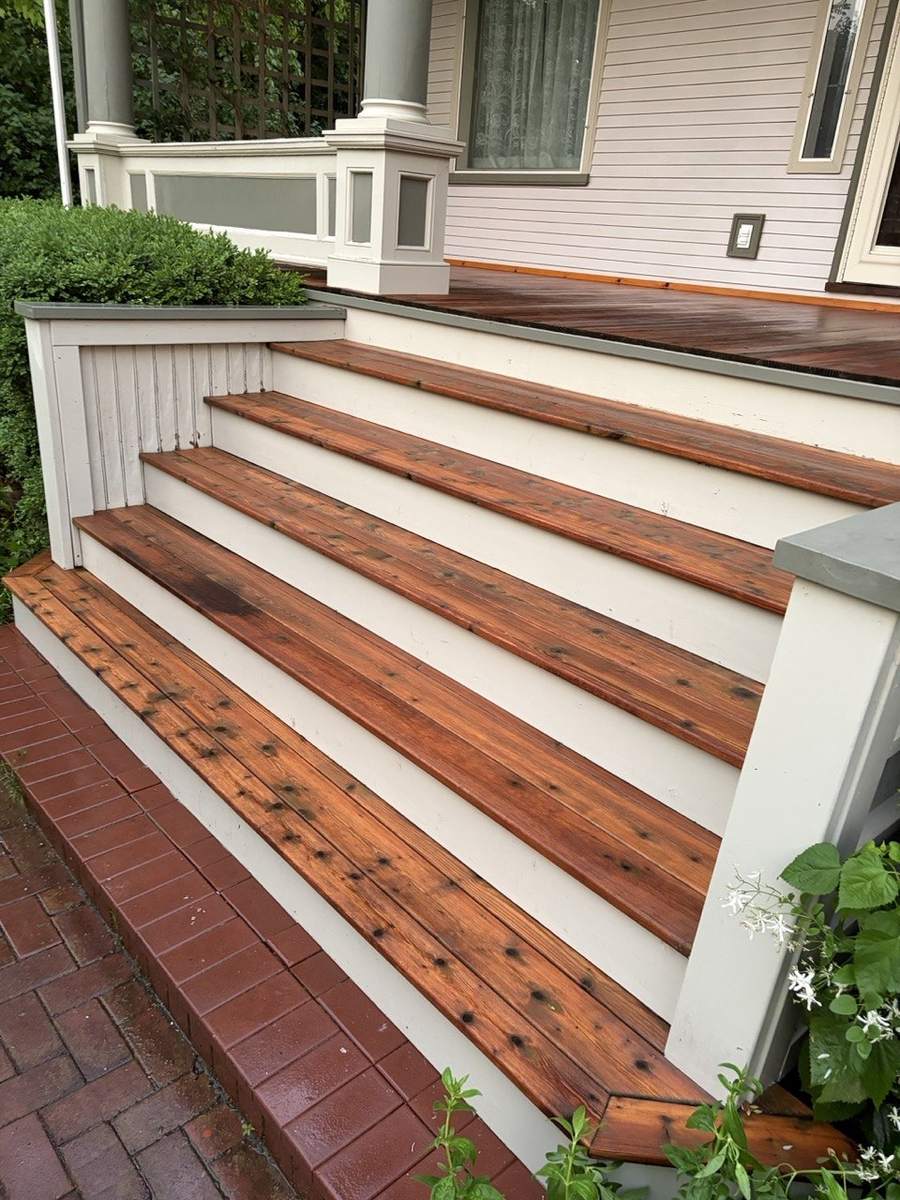
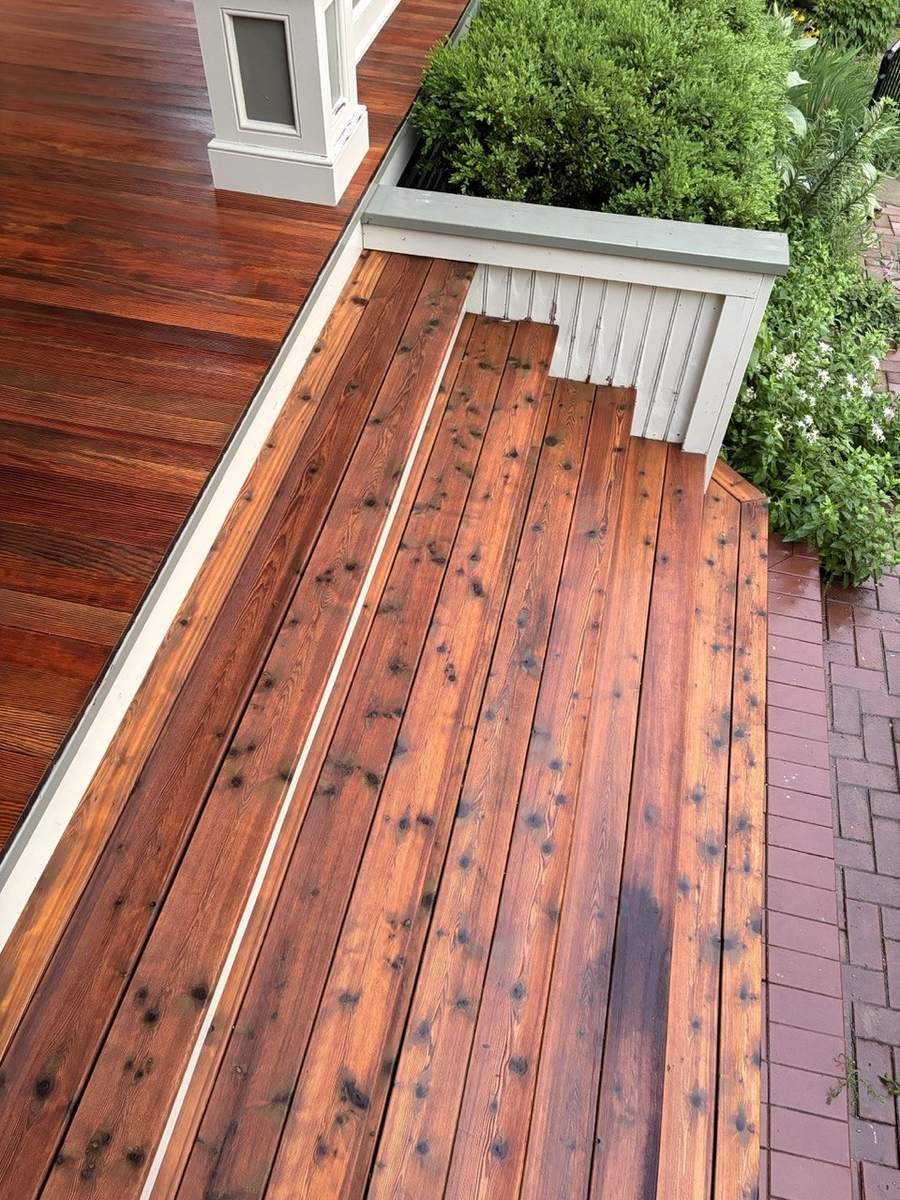
The stained steps and porch floor seen from above
The steps, finished
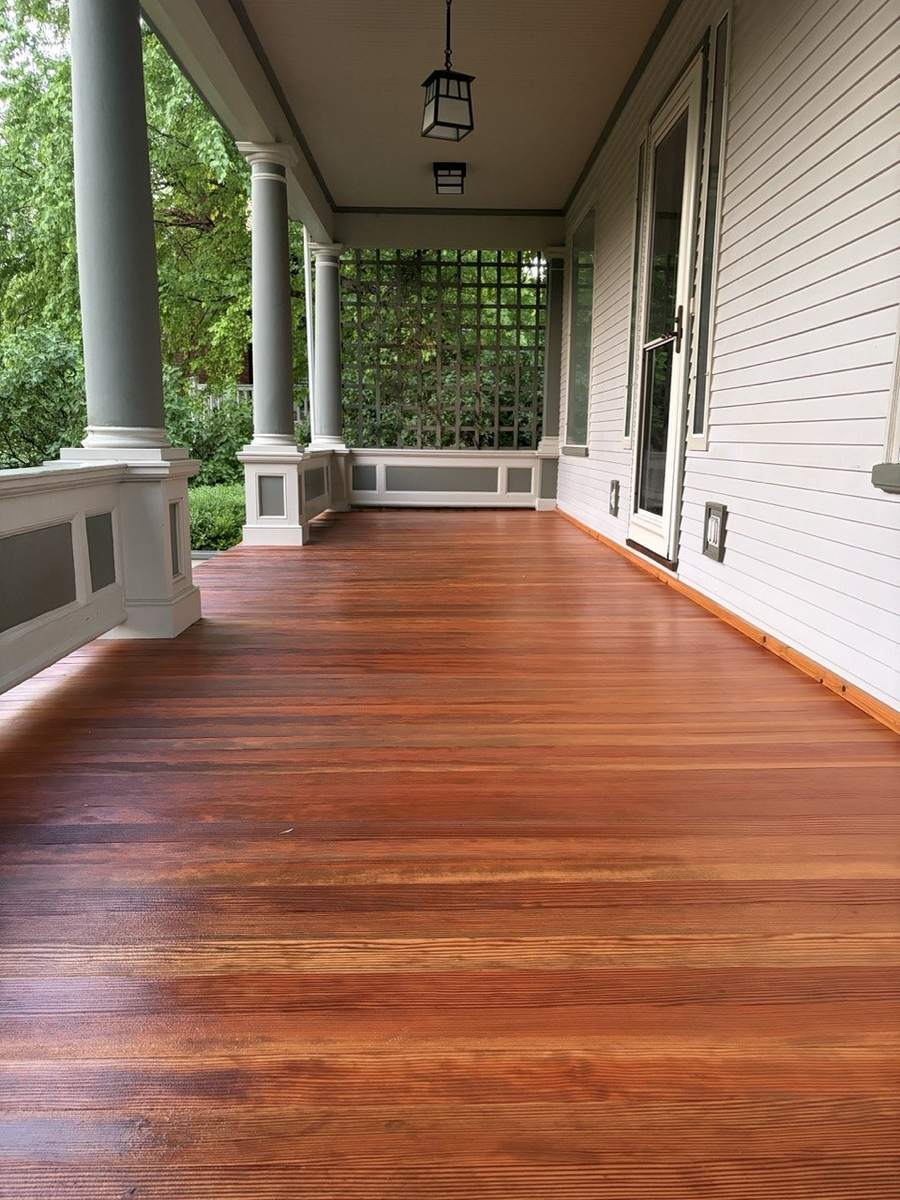
The finished porch seen down its length
The finished porch

Have a project in mind?

Request an estimate View the portfolio